Ultimate Peanut Butter Chocolate Layer Cake Recipe
Introduction
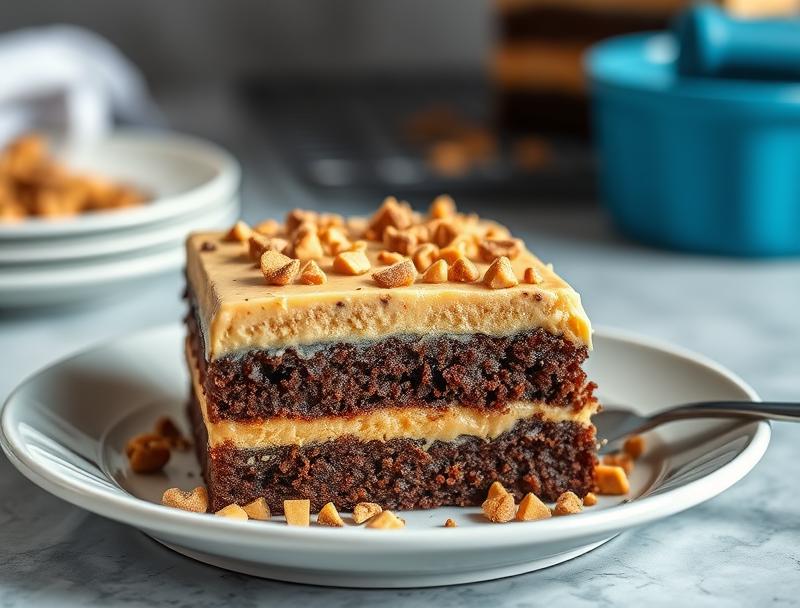
This Ultimate Peanut Butter Chocolate Layer Cake Recipe is a masterpiece of flavors, combining the richness of peanut butter with the decadence of chocolate in a moist and velvety cake. The best part? It’s surprisingly easy to make, using everyday ingredients that you might already have in your pantry. The creativity lies in the layering of flavors and textures, creating a truly impressive dessert that’s perfect for special occasions or just a sweet treat any day of the week. With its ease of preparation, impressive results, and the joy of sharing something homemade with loved ones, this recipe is sure to become a favorite.
Why This Works
- The balance of peanut butter and chocolate flavors, along with the accessibility of the ingredients, makes this cake a winner. You don’t need to hunt down exotic ingredients; everything you need is likely available at your local grocery store.
- The ease of preparation is another significant advantage. Despite being a layer cake, the steps are straightforward, and the cake comes together with minimal fuss. This makes it perfect for beginners or experienced bakers looking for a recipe that delivers without demanding too much time or effort.
- Lastly, the impressive results you get from this recipe, with its beautiful layers and delicious flavors, belie the minimal effort required. It’s a great choice for anyone looking to wow their family or friends with a homemade dessert without spending hours in the kitchen.
Ingredients
- 2 ¾ cups all-purpose flour
- 2 teaspoons baking powder
- 1 teaspoon salt
- 1 cup unsalted butter, at room temperature
- 1 ¾ cups granulated sugar
- 4 large eggs, at room temperature
- 2 teaspoons pure vanilla extract
- 1 cup creamy peanut butter (not natural or old-fashioned)
- 1 cup whole milk, at room temperature
- 1 cup semi-sweet chocolate chips
- 1 cup chopped peanuts or peanut butter cups for garnish (optional)
Instructions
- Step 1: Prepare the Cake Batter – Begin by preheating your oven to 350°F (175°C). Grease and flour three 9-inch round cake pans. In a medium bowl, whisk together flour, baking powder, and salt; set aside. In a large mixing bowl, use an electric mixer to beat the butter until creamy, about 2 minutes. Add the sugar gradually and continue beating until light and fluffy, about 3 minutes. Beat in the eggs one at a time, then beat in the vanilla extract.
- Step 2: Combine Wet and Dry Ingredients – With the mixer on low speed, gradually add the flour mixture to the wet ingredients in three parts, alternating with the milk, beginning and ending with the flour mixture. Beat just until combined. Do not overmix.
- Step 3: Add Peanut Butter and Chocolate – Beat in the peanut butter until well combined. Melt the chocolate chips in a double boiler or in the microwave in 30-second increments, stirring between each interval until smooth. Allow the chocolate to cool slightly, then fold it into the cake batter until well combined.
- Step 4: Bake the Cakes – Divide the batter evenly among the prepared pans and smooth the tops. Bake for 30-35 minutes or until a toothpick inserted into the center comes out clean. Let the cakes cool in the pans for 10 minutes, then transfer them to a wire rack to cool completely.
- Step 5: Assemble the Cake – Once the cakes are completely cool, you can assemble the layer cake. Place one cake layer on a serving plate, spread a layer of peanut butter frosting (recipe below) on top, and repeat with the remaining two cake layers. Frost the outside of the cake with the remaining frosting.
Handy Tips
- For the peanut butter frosting, beat 1 cup of creamy peanut butter with 1 ½ cups of powdered sugar, 2 tablespoons of milk, and 1 teaspoon of vanilla extract until smooth and creamy. Adjust the consistency and sweetness as needed.
- Ensure all ingredients are at room temperature for the best results.
- Avoid overmixing the batter to keep the cake light and fluffy.
Heat Control
When baking the cakes, it’s crucial to maintain the oven temperature at 350°F (175°C) for even baking. Check the cakes after 30 minutes, and if they’re not done, continue to check every 5 minutes until a toothpick inserted into the center comes out clean.
Crunch Factor
The crunch in this cake comes from the chopped peanuts or peanut butter cups used for garnish. If you prefer a crunchier texture within the cake, you can fold in some chopped peanuts into the batter before baking.
Pro Kitchen Tricks
- Use parchment paper at the bottom of the cake pans for easy cake removal.
- Don’t open the oven door during the first 20 minutes of baking to prevent the cakes from sinking.
- For a more intense chocolate flavor, use dark or bittersweet chocolate chips.
Storage Tips
- The cake can be stored at room temperature for up to 3 days.
- For longer storage, refrigerate the cake for up to 5 days or freeze for up to 2 months. When freezing, it’s best to freeze the cake layers separately before assembling and frosting.
- When reheating, let the cake come to room temperature or warm it up in the microwave in short intervals, checking until it’s warmed through.
Gift Packaging Ideas
This cake makes a wonderful gift, especially for birthdays or holidays. Consider placing the cake on a decorative cake stand or in a large gift box. You can also wrap slices individually in plastic wrap or aluminum foil and place them in a gift tin or bag for a more personalized touch. Add a ribbon or a gift card with a personal message for a thoughtful presentation.
Flavor Variations
- Try adding a teaspoon of sea salt to the batter for a salted peanut butter and chocolate combination.
- For a different twist, use almond butter or cashew butter instead of peanut butter.
- Experiment with different types of chocolate or add-ins like nuts, caramel bits, or dried cranberries to the batter for unique flavor combinations.
Troubleshooting
- If the cake is too dense, it might be due to overmixing the batter. Try to mix the ingredients just until they come together.
- For cakes that are not baking evenly, check your oven temperature and ensure you’re using the correct size of pans.
- If the frosting is too thin, refrigerate it for about 10 minutes to firm it up before using.
FAQs
- Can I freeze the cake? Yes, you can freeze the cake layers before assembling for up to 2 months. It’s best to freeze them separately and then assemble and frost the cake when you’re ready to serve.
- Is the cake gluten-free? No, this recipe uses all-purpose flour and is not suitable for a gluten-free diet without significant modifications.
- Can I double the recipe? Yes, you can double the recipe to make a larger cake. Just ensure you have enough pans and adjust the baking time as needed.
Conclusion
With its rich peanut butter and chocolate flavors, this Ultimate Peanut Butter Chocolate Layer Cake Recipe is sure to impress anyone who tries it. The combination of ease of preparation, accessibility of ingredients, and the impressive results make it a perfect choice for any occasion. Feel free to experiment with the recipe, trying out different flavor variations or decorating ideas to make it your own. Whether you’re a seasoned baker or just starting out, this cake is sure to become a favorite, and the joy of sharing something so delicious with others is truly the best part of baking.
Ultimate Peanut Butter Chocolate Layer Cake Recipe
A moist and decadent layer cake combining peanut butter and chocolate, perfect for special occasions or everyday treats.
🥘 Ingredients
👩🍳 Instructions
-
1Preheat oven to 350°F (175°C). Grease and flour three 9-inch round cake pans.
-
2Prepare the cake batter by whisking together flour, baking powder, and salt, then beating in butter, sugar, eggs, and vanilla extract.
-
3Combine wet and dry ingredients, then add peanut butter and melted chocolate.
-
4Divide the batter evenly among the prepared pans and bake for 30-35 minutes or until a toothpick inserted into the center comes out clean.
-
5Assemble the cake by placing one cake layer on a serving plate, spreading a layer of peanut butter frosting on top, and repeating with the remaining two cake layers. Frost the outside of the cake with the remaining frosting.