Cherry Garcia Fudge (Easy and Festive Christmas Treat!)
Introduction
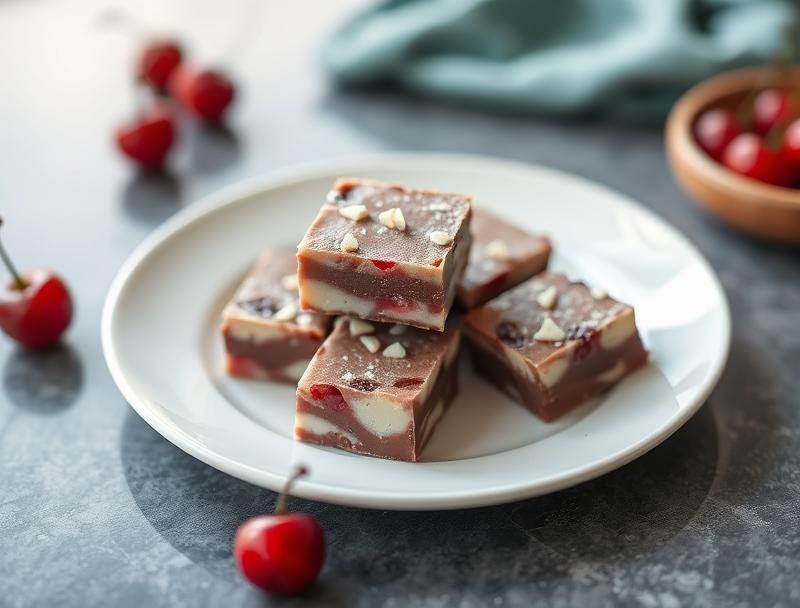
The festive season is upon us, and what better way to spread cheer than with a delightful and easy-to-make treat that combines the richness of chocolate, the sweetness of cherries, and the magic of Ben & Jerry’s inspiration? Cherry Garcia Fudge is a creative twist on traditional fudge, incorporating cherry and chocolate for a unique flavor profile. This recipe is perfect for those looking to impress their friends and family with a delicious, homemade dessert without spending hours in the kitchen. It’s all about using everyday ingredients to create something truly special and festive, capturing the essence of the holiday spirit in each bite.
Why This Works
- The balance of flavors between the cherries, chocolate, and creamy base creates a delightful taste experience that’s both familiar and exciting.
- The accessibility of the ingredients and the simplicity of the preparation process make this recipe a standout for those with busy schedules or limited cooking experience.
- Despite its ease of preparation, the Cherry Garcia Fudge offers impressive results, making it perfect for gift-giving, holiday parties, or as a special treat for your loved ones.
Ingredients
- 1 can (14.4 oz) sweetened condensed milk
- 1 cup (200g) white chocolate chips
- 1 cup (120g) semisweet chocolate chips
- 1 teaspoon vanilla extract
- 1/2 teaspoon salt
- 1 cup (120g) dried cherries
- 1/2 cup (60g) chopped pecans or walnuts (optional)
- 1 tablespoon (15g) unsalted butter
Instructions
- Step 1: Line an 8-inch square baking dish with parchment paper, making sure to leave some overhang for easy removal.
- Step 2: In a medium saucepan over low heat, melt the white chocolate chips, stirring occasionally. Once melted, remove from heat and stir in the sweetened condensed milk, vanilla extract, and salt until well combined.
- Step 3: Fold in the dried cherries and chopped nuts (if using). Then, melt the semisweet chocolate chips in a separate saucepan over low heat or in the microwave in 30-second increments, stirring between each interval until smooth.
- Step 4: Pour the white chocolate mixture into the prepared baking dish. Drizzle the melted semisweet chocolate over the top. Use a knife or spatula to create a marbled effect by gently swirling the chocolate into the white chocolate mixture.
- Step 5: Refrigerate the fudge for at least 2 hours or until set. Remove from the refrigerator, use the overhanging parchment paper to lift out of the dish, and cut into small squares.
Handy Tips
- For a more intense cherry flavor, you can use cherry extract or a few drops of cherry syrup in addition to the dried cherries.
- Experiment with different types of chocolate or add-ins like cranberries, orange zest, or coconut flakes to give your fudge a unique twist.
- Ensure all your ingredients are at room temperature for the best results, especially when melting chocolate.
Heat Control
When melting the chocolate, it’s crucial to use low heat to avoid burning or seizing the chocolate. If using the microwave, be cautious and check every 30 seconds to prevent overheating. The ideal temperature for melting chocolate is between 105°F and 115°F (40°C to 46°C) for dark chocolate and slightly lower for white and milk chocolate.
Crunch Factor
The addition of nuts provides a delightful crunch to the fudge, contrasting beautifully with the smooth, creamy chocolate. If you prefer a smoother texture, you can omit the nuts or substitute them with something softer like dried cranberries.
Pro Kitchen Tricks
- To ensure your fudge sets properly, avoid overmixing the mixture, especially after adding the cherries and nuts.
- For a glossy finish on your fudge, melt a small amount of chocolate and spread it over the top of the fudge before it sets.
- Use high-quality chocolate for the best flavor. While it might be more expensive, it makes a significant difference in the taste and texture of your final product.
Storage Tips
- Store your fudge in an airtight container in the refrigerator for up to 2 weeks.
- For longer storage, fudge can be frozen for up to 3 months. Wrap it tightly in plastic wrap or aluminum foil and place in a freezer-safe bag.
- When giving fudge as a gift, consider packaging it in decorative tins, jars, or boxes lined with parchment or wax paper for a beautiful presentation.
Gift Packaging Ideas
Cherry Garcia Fudge makes a wonderful gift for friends, family, and coworkers. Package it in small mason jars with a ribbon around the lid, in decorative holiday tins, or in cellophane bags tied with a festive ribbon. You can also include a personalized note or a candy cane on top for a more festive touch.
Flavor Variations
- Try adding a teaspoon of mint extract for a refreshing twist, perfect for after dinner.
- Swap the cherries for cranberries or raspberries for a different fruit flavor.
- Experiment with different nuts like almonds or hazelnuts for a varied texture.
Troubleshooting
- If your fudge doesn’t set, it might be due to overmixing or the wrong ratio of ingredients. Try refrigerating it for a longer period or adjusting the recipe next time.
- For fudge that’s too hard, it could be due to overcooking the chocolate. Next time, melt the chocolate more gently and avoid overheating.
- If you notice your fudge becoming too soft, it might be due to temperature fluctuations. Keep it refrigerated and consider freezing if you live in a warm climate.
FAQs
- Can I freeze it? Yes, fudge can be frozen for up to 3 months. Wrap it tightly and place in a freezer-safe bag.
- Is it gluten-free? This recipe is naturally gluten-free, making it suitable for those with gluten intolerance or sensitivity.
- Can I double the recipe? Yes, you can easily double or triple this recipe for a larger batch. Just ensure you have a large enough dish to accommodate the increased volume.
Conclusion
Making Cherry Garcia Fudge is a fun and rewarding experience, offering a delicious treat that’s perfect for any occasion. With its ease of preparation, accessibility of ingredients, and impressive results, this recipe is sure to become a favorite. Feel free to experiment with different flavors and ingredients to make it your own, and don’t hesitate to share your creations with friends and family. Whether you’re a seasoned baker or a beginner in the kitchen, this fudge is sure to bring joy and satisfaction to all who taste it.