Raspberry Jam Thumbprint Cookies – Buttery, Sweet & Filled with Fruity Goodness!
Introduction
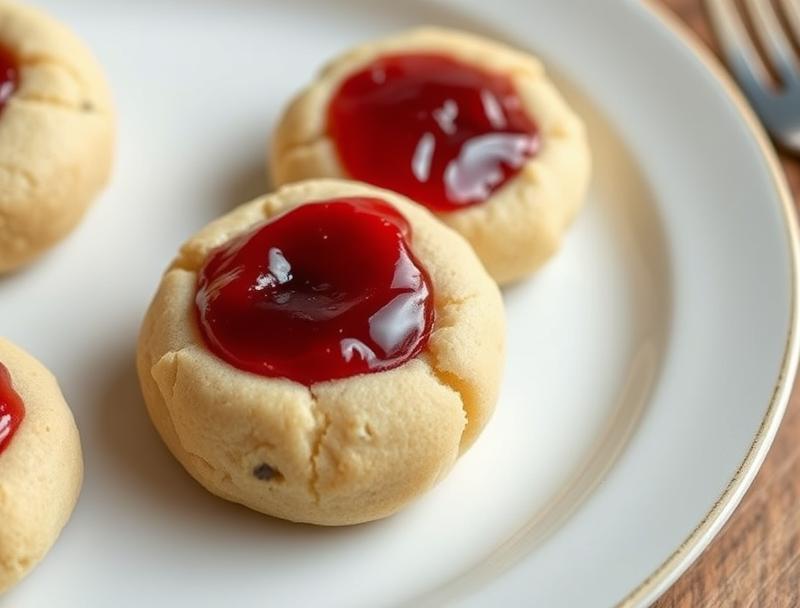
Imagine a cookie that combines the richness of butter, the sweetness of sugar, and the tangy delight of raspberry jam, all in one delightful package. Welcome to the world of Raspberry Jam Thumbprint Cookies, a treat so divine it will leave you and your loved ones craving for more. The best part? These cookies are incredibly easy to make, requiring just a few simple ingredients and basic kitchen tools. Whether you’re a seasoned baker or a beginner in the kitchen, this recipe is sure to bring a smile to your face and a twinkle to your taste buds. So, let’s dive in and explore the magic of these buttery, sweet, and fruity goodies!
Why This Works
- Flavor balance and ingredient accessibility: The combination of butter, sugar, eggs, flour, and raspberry jam creates a perfect harmony of flavors that is both familiar and exciting. Plus, these ingredients are easily found in most kitchens or local grocery stores.
- Ease of preparation: The process of making these cookies is straightforward and simple, involving basic mixing and baking steps that require minimal effort and time.
- Impressive results with minimal effort: Despite their simplicity, Raspberry Jam Thumbprint Cookies look and taste impressive, making them perfect for special occasions, gift-giving, or simply as a sweet treat any day of the week.
Ingredients
- 2 1/4 cups all-purpose flour
- 1 tsp baking soda
- 1 tsp salt
- 1 cup unsalted butter, softened
- 3/4 cup granulated sugar
- 1 egg
- 1 tsp vanilla extract
- Raspberry jam for filling
- Confectioners’ sugar for dusting (optional)
Instructions
- Step 1: Preheat and Prep – Preheat your oven to 375°F (190°C). Line a baking sheet with parchment paper or a silicone mat. In a medium bowl, whisk together the flour, baking soda, and salt. Set aside.
- Step 2: Mix the Dough – In a large bowl, use an electric mixer to cream together the butter and sugar until light and fluffy. Beat in the egg and vanilla extract until well combined. Gradually mix in the flour mixture until a dough forms.
- Step 3: Shape the Cookies – Roll the dough into balls, about 1 inch in diameter. Place the balls onto the prepared baking sheet, leaving about 2 inches of space between each cookie. Use your thumb or a small spoon to make a indentation in the center of each cookie.
- Step 4: Fill and Bake – Fill each indentation with a small amount of raspberry jam. Bake for 12-14 minutes, or until the edges are lightly golden. Allow the cookies to cool on the baking sheet for 5 minutes before transferring them to a wire rack to cool completely.
Handy Tips
- Make sure to not overbake, as the cookies can quickly become too hard. They should be lightly golden and still slightly soft to the touch.
- Don’t overfill the cookies with jam, as it can spill over during baking. Just a small amount in the center is perfect.
- For an extra crunchy cookie, you can chill the dough for 30 minutes before baking. This will help the cookies retain their shape better.
Heat Control
The ideal temperature for baking these cookies is 375°F (190°C). Keep an eye on them after 10 minutes, as the baking time can vary depending on your oven and the size of your cookies. They are done when the edges are lightly golden and the centers are set. If you prefer a chewier cookie, bake for 10-11 minutes. For a crisper cookie, bake for 14-15 minutes.
Crunch Factor
The crunch factor of these cookies comes from baking them until they are lightly golden. If you prefer a softer cookie, bake for a minute or two less. For an extra crunchy exterior and chewy interior, try baking them for the full 14 minutes and then letting them cool completely on the wire rack.
Pro Kitchen Tricks
- Use high-quality ingredients: The taste and texture of your cookies will significantly improve with good quality butter, fresh eggs, and real vanilla extract.
- Don’t overmix: Mix your dough just until the ingredients come together. Overmixing can lead to tough cookies.
- Experiment with flavors: Try using different types of jam or preserves for varying flavors. You can also add a pinch of salt or a teaspoon of cinnamon to the dough for added depth.
Storage Tips
- Store the cookies in an airtight container at room temperature for up to 5 days.
- For longer storage, place the cookies in a single layer in an airtight container and freeze for up to 2 months. Thaw at room temperature when ready to serve.
- Consider packaging the cookies in decorative tins or jars for gift-giving. They make wonderful presents for friends, family, and coworkers.
Gift Packaging Ideas
These cookies are perfect for gift-giving due to their attractive appearance and delicious taste. Consider packaging them in decorative tins, jars, or even paper bags tied with a ribbon. You can also add a personal touch by including a handwritten note or a small bag of gourmet coffee or tea. For a more festive look, sprinkle some confectioners’ sugar on top of the cookies before packaging.
Flavor Variations
- Different jams: Try using strawberry, blueberry, or apricot jam for different flavor profiles.
- Creative toppings: Sprinkle some chopped nuts, shredded coconut, or chocolate chips on top of the cookies before baking for added texture and flavor.
- Ingredient swaps: Use brown sugar instead of granulated sugar for a richer flavor, or substitute some of the all-purpose flour with oat flour for a nuttier taste.
Troubleshooting
- Texture problems: If your cookies turn out too hard, they might have been overbaked. Try reducing the baking time. If they are too soft, they might have been underbaked.
- Ingredient replacements: If you don’t have unsalted butter, you can use salted butter and omit the additional salt called for in the recipe.
- Over/undercooking signs: Keep an eye on your cookies during the baking time. They should be lightly golden and firm to the touch when done.
FAQs
- Can I freeze the dough? Yes, you can freeze the dough for up to 2 months. Simply thaw it in the refrigerator overnight and proceed with the recipe as instructed.
- Is this recipe gluten-free? No, this recipe contains all-purpose flour and is not gluten-free. However, you can experiment with gluten-free flour blends for a gluten-free version.
- Can I double the recipe? Yes, you can easily double or triple this recipe to make more cookies. Just keep an eye on the baking time, as it might be slightly longer for larger batches.
Conclusion
Raspberry Jam Thumbprint Cookies are a delightful treat that combines simplicity with impressive results. With their buttery flavor, sweet jam filling, and crunchy texture, they are sure to become a favorite in your household. Don’t be afraid to experiment with different flavors and ingredients to make the recipe your own. Whether you’re baking for a special occasion or just a sweet snack, these cookies are sure to bring joy and satisfaction. So go ahead, get baking, and share the love!
Raspberry Jam Thumbprint Cookies – Buttery, Sweet & Filled with Fruity Goodness!
A simple yet impressive cookie recipe filled with raspberry jam, perfect for any occasion.
🥘 Ingredients
👩🍳 Instructions
-
1Preheat oven to 375°F (190°C).
-
2Mix the dough by creaming together butter and sugar, then adding the egg and vanilla extract, and finally the flour mixture.
-
3Shape the cookies into balls and make an indentation in the center of each.
-
4Fill the indentation with raspberry jam and bake for 12-14 minutes.