Fluffy Strawberry Japanese Cheesecake
Introduction
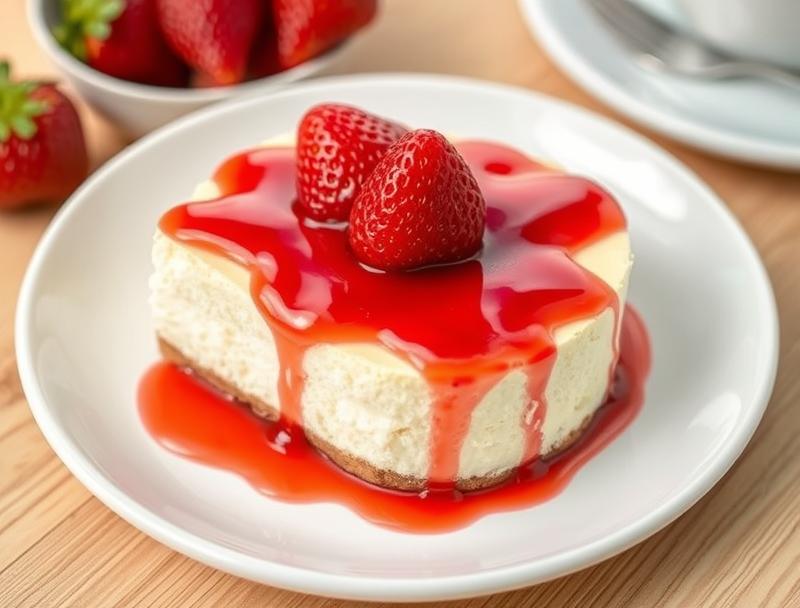
Imagine a dessert that combines the lightness of a cloud, the sweetness of strawberries, and the richness of cheesecake, all in one delicate package. Welcome to the world of Fluffy Strawberry Japanese Cheesecake, a culinary masterpiece that will elevate your dessert game without requiring a pastry chef’s expertise. This recipe is all about ease, flavor, and creativity, using everyday ingredients to create something truly special. Whether you’re a seasoned baker or a beginner in the kitchen, this cheesecake is sure to impress with its simplicity and elegance.
Why This Works
- Flavor balance and ingredient accessibility: The combination of strawberries and cream cheese provides a perfect balance of sweet and tangy, while the ingredients are easily found in most supermarkets.
- Ease of preparation: Despite its impressive appearance, this cheesecake requires minimal effort and no special equipment beyond a mixer and a springform pan.
- Impressive results with minimal effort: The end result is a stunning dessert that looks like it came from a professional bakery, guaranteed to wow your family and friends.
Ingredients
- 1 1/2 cups (190g) graham cracker crumbs
- 1/4 cup (50g) granulated sugar
- 1/2 cup (115g) unsalted butter, melted
- 16 ounces (450g) cream cheese, softened
- 1/2 cup (100g) granulated sugar
- 4 large eggs, separated
- 1 teaspoon vanilla extract
- 1 cup (120g) all-purpose flour
- 1/2 cup (120ml) whole milk, at room temperature
- 1/2 cup (120g) strawberry puree or jam
- 1 cup (150g) sliced strawberries, for garnish
Instructions
- Step 1: Preheat your oven to 325°F (165°C) and prepare a 9-inch (23cm) springform pan by wrapping the outside with aluminum foil to prevent water from seeping in during the water bath.
- Step 2: Mix the graham cracker crumbs, sugar, and melted butter until well combined. Press this mixture into the bottom of the prepared pan. Bake for 10 minutes, then let cool completely.
- Step 3: In a large mixing bowl, beat the cream cheese until smooth. Add the granulated sugar and beat until combined. Beat in the egg yolks one at a time, followed by the vanilla extract.
- Step 4: In a separate bowl, whisk the egg whites until stiff peaks form. Fold the egg whites into the cream cheese mixture until no white streaks remain. Then, whisk in the flour and milk until smooth.
- Step 5: Pour the cheesecake batter into the prepared pan over the crust. Drizzle the strawberry puree over the batter and use a knife or spatula to create a marbled effect.
- Step 6: Place the cheesecake in a large roasting pan and add hot water to come halfway up the sides of the springform pan. Bake for 55-60 minutes or until the edges are set and the center is just slightly jiggly.
- Step 7: Remove the cheesecake from the water bath and let it cool in the pan for 1 hour. Then, run a knife around the edges and release the springform. Let the cheesecake cool completely on a wire rack.
- Step 8: Once cooled, refrigerate the cheesecake for at least 4 hours or overnight. Just before serving, arrange sliced strawberries on top.
Handy Tips
- To ensure a smooth cheesecake, make sure all ingredients are at room temperature before starting.
- Don’t overmix the batter, as this can lead to a dense cheesecake.
- For a golden brown top, broil the cheesecake for 1-2 minutes after baking, watching carefully to avoid burning.
Heat Control
Baking the cheesecake in a water bath at a lower temperature helps prevent cracking and ensures an even cooking process. The ideal internal temperature for a cheesecake is around 190°F (88°C) to 200°F (93°C). Avoid overbaking, as this can cause the cheesecake to dry out.
Crunch Factor
The crust provides a nice crunch to the cheesecake, while the strawberry topping adds natural sweetness and freshness. To maintain the crunch of the crust, avoid overbaking it during the initial 10-minute baking step.
Pro Kitchen Tricks
- Use high-quality ingredients, including fresh strawberries for the best flavor.
- For a perfectly smooth cheesecake, ensure your cream cheese is softened and your eggs are at room temperature.
- Don’t open the oven door during the baking time, as this can cause the cheesecake to sink or crack.
Storage Tips
- Store the cheesecake in the refrigerator for up to 5 days.
- Freeze the cheesecake for up to 2 months. Thaw overnight in the refrigerator before serving.
- When freezing, it’s best to freeze the cheesecake without the strawberry topping and add it just before serving.
Gift Packaging Ideas
This cheesecake makes a wonderful gift, especially for special occasions like birthdays or anniversaries. Consider packaging it in a decorative cake box or wrapping it in plastic wrap and tying with a ribbon. Adding a few fresh strawberries on top and a handwritten note can make it an even more thoughtful gift.
Flavor Variations
- Different fruits: Try using other fruits like blueberries, raspberries, or peaches for a unique flavor and appearance.
- Creative toppings: Add a sprinkle of powdered sugar, a drizzle of chocolate sauce, or a layer of whipped cream for extra decadence.
- Ingredient swaps: Replace the graham cracker crust with a cookie crust or use almond flour for a gluten-free option.
Troubleshooting
- Texture problems: If your cheesecake turns out too dense, it might be due to overmixing. If it’s too soft, it might not have baked long enough.
- Ingredient replacements: Always try to use the ingredients listed for the best results, but in a pinch, you can substitute similar ingredients with caution.
- Over/undercooking signs: A perfectly baked cheesecake will have a slightly jiggly center and a firm edge. Avoid overbaking, as this can cause the cheesecake to dry out and crack.
FAQs
- Can I freeze it? Yes, you can freeze the cheesecake for up to 2 months. It’s best to freeze it without the strawberry topping and add it just before serving.
- Is it gluten-free? The traditional recipe includes graham cracker crumbs, which contain gluten. However, you can make a gluten-free version by substituting the crust with a gluten-free alternative.
- Can I double the recipe? Yes, you can double the recipe to make a larger cheesecake. Just keep in mind that the baking time will be longer, so check for doneness regularly to avoid overbaking.
Conclusion
Making a Fluffy Strawberry Japanese Cheesecake is a rewarding experience that combines the joy of baking with the pleasure of sharing a delicious dessert with loved ones. With its light texture, beautiful presentation, and adaptable flavor profile, this cheesecake is sure to become a favorite. Don’t be afraid to experiment with different flavors and toppings to make it your own, and remember, practice makes perfect, so don’t be discouraged if your first attempt doesn’t turn out exactly as expected. Happy baking!
Fluffy Strawberry Japanese Cheesecake
A light and fluffy Japanese-style cheesecake infused with the sweetness of strawberries, perfect for any occasion.
🥘 Ingredients
👩🍳 Instructions
-
1Preheat oven to 325°F (165°C).
-
2Prepare the crust by mixing graham cracker crumbs, sugar, and melted butter. Press into a 9-inch springform pan and bake for 10 minutes.
-
3Prepare the cheesecake batter by beating the cream cheese, then adding sugar, eggs, vanilla extract, flour, and milk. Fold in the egg whites.
-
4Pour the cheesecake batter into the prepared pan and drizzle with strawberry puree. Create a marbled effect with a knife or spatula.
-
5Bake the cheesecake in a water bath for 55-60 minutes or until the edges are set and the center is slightly jiggly.
-
6Let the cheesecake cool in the pan for 1 hour, then run a knife around the edges and release the springform. Cool completely on a wire rack.
-
7Refrigerate the cheesecake for at least 4 hours or overnight. Top with sliced strawberries before serving.