Cheesy Quesadilla Delight
Introduction
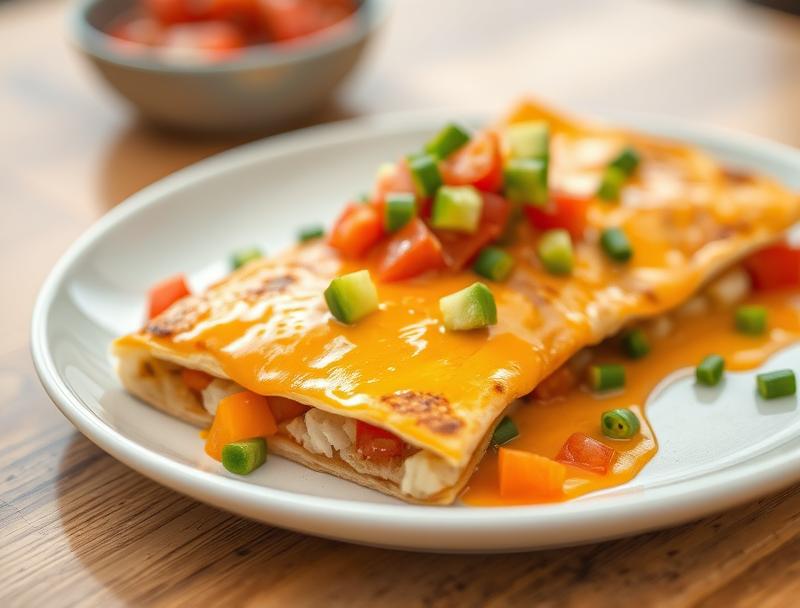
The Cheesy Quesadilla Delight is a mouthwatering dish that combines the simplicity of everyday ingredients with the creativity of a gourmet meal. This recipe is perfect for anyone looking to impress their family and friends with a flavorful and satisfying meal that can be prepared in no time. With its perfect balance of melted cheese, savory fillings, and crispy tortillas, this dish is sure to become a staple in your kitchen. The best part? It’s incredibly easy to make and requires minimal effort, making it a great option for busy weeknights or casual gatherings.
Why This Works
- Flavor balance and ingredient accessibility: The combination of melted cheese, savory fillings, and crispy tortillas creates a perfect balance of flavors and textures that will leave you wanting more. Plus, the ingredients are easily accessible and can be found in most supermarkets.
- Ease of preparation: This recipe is incredibly easy to prepare, requiring only a few minutes of prep time and a few simple steps to cook. The result is a delicious and satisfying meal that can be ready in no time.
- Impressive results with minimal effort: Despite its simplicity, the Cheesy Quesadilla Delight is a show-stopping dish that is sure to impress your family and friends. The combination of melted cheese, savory fillings, and crispy tortillas creates a dish that looks and tastes like it was made in a gourmet kitchen.
Ingredients
- 4 large tortillas
- 2 cups shredded cheese (Monterey Jack or Cheddar work well)
- 1 cup shredded cooked chicken or beef (optional)
- 1/2 cup diced onion
- 1/2 cup diced bell pepper
- 1 jalapeno pepper, diced
- 2 cloves garlic, minced
- 1 tablespoon olive oil
- Salt and pepper, to taste
- Fresh cilantro, chopped (for garnish)
Instructions
- Step 1: Begin by preheating a large skillet or griddle over medium-high heat. While the skillet is heating up, prepare your fillings by shredding the cheese, chopping the onion, bell pepper, and jalapeno, and cooking the chicken or beef (if using).
- Step 2: In a large bowl, combine the shredded cheese, chopped onion, bell pepper, and jalapeno. If using cooked chicken or beef, add it to the bowl and stir to combine.
- Step 3: Place a large tortilla in the skillet and sprinkle a quarter of the cheese and filling mixture onto half of the tortilla. Fold the tortilla in half to enclose the filling and cook for 2-3 minutes, until the tortilla is crispy and the cheese is melted. Flip the quesadilla and cook for an additional 2-3 minutes, until the other side is also crispy and the cheese is melted. Repeat with the remaining tortillas and filling.
- Step 4: Once the quesadillas are cooked, slice them into wedges and serve hot with your favorite toppings, such as sour cream, salsa, and avocado.
Handy Tips
- Use a variety of cheeses: While Monterey Jack or Cheddar work well, you can also experiment with other cheeses, such as Pepper Jack or Colby, to create a unique flavor profile.
- Don’t overfill the quesadillas: While it’s tempting to add as much filling as possible, overfilling the quesadillas can make them difficult to fold and cook evenly. Stick to a quarter of the filling mixture per tortilla.
- Experiment with different fillings: The beauty of the Cheesy Quesadilla Delight is that you can customize the fillings to your liking. Try adding diced ham, cooked vegetables, or even beans to create a unique flavor profile.
Heat Control
When cooking the quesadillas, it’s essential to control the heat to achieve the perfect balance of crispy tortillas and melted cheese. Aim for a medium-high heat, around 375°F to 400°F, and adjust the heat as needed to prevent burning or undercooking. Cook the quesadillas for 2-3 minutes on each side, until they are crispy and the cheese is melted.
Crunch Factor
The crunch factor is essential in the Cheesy Quesadilla Delight, as it adds texture and depth to the dish. To achieve the perfect crunch, cook the quesadillas until they are crispy and golden brown, and then slice them into wedges. You can also add crunchy toppings, such as diced onions or chopped cilantro, to add extra texture.
Pro Kitchen Tricks
- Use a cast-iron skillet: A cast-iron skillet is ideal for cooking quesadillas, as it retains heat well and can achieve a perfect crispy crust.
- Don’t overcrowd the skillet: Cook the quesadillas one at a time, to ensure they have enough room to cook evenly and prevent them from steaming instead of crisping.
- Keep the quesadillas warm: While cooking the remaining quesadillas, keep the cooked ones warm in a low-temperature oven (around 200°F) to prevent them from getting cold and soggy.
Storage Tips
- Store leftover quesadillas in an airtight container: If you have leftover quesadillas, store them in an airtight container in the refrigerator for up to 3 days.
- Reheat quesadillas in the oven: To reheat leftover quesadillas, place them in a single layer on a baking sheet and bake in a preheated oven at 350°F for 5-7 minutes, until crispy and hot.
- Freeze quesadillas: You can also freeze cooked quesadillas for up to 2 months. Simply place them in a single layer on a baking sheet, freeze until solid, and then transfer them to an airtight container or freezer bag.
Gift Packaging Ideas
If you want to give the Cheesy Quesadilla Delight as a gift, consider packaging it in a decorative tin or basket filled with fresh toppings, such as sour cream, salsa, and avocado. You can also include a side of tortilla chips or a fresh salad to make it a complete meal.
Flavor Variations
- Different spices: Experiment with different spices, such as cumin, chili powder, or smoked paprika, to add a unique flavor profile to the quesadillas.
- Creative toppings: Try adding creative toppings, such as diced ham, cooked vegetables, or even beans, to create a unique flavor profile.
- Ingredient swaps: Swap out the chicken or beef for other proteins, such as steak or shrimp, to create a unique flavor profile.
Troubleshooting
- Texture problems: If the quesadillas are too crispy or too soft, adjust the cooking time and heat as needed to achieve the perfect texture.
- Ingredient replacements: If you don’t have a particular ingredient, try substituting it with a similar ingredient to achieve a similar flavor profile.
- Over/undercooking signs: Keep an eye on the quesadillas while they’re cooking, and adjust the heat and cooking time as needed to prevent overcooking or undercooking.
FAQs
- Can I freeze it? Yes, you can freeze cooked quesadillas for up to 2 months. Simply place them in a single layer on a baking sheet, freeze until solid, and then transfer them to an airtight container or freezer bag.
- Is it gluten-free? Yes, the Cheesy Quesadilla Delight is gluten-free, making it a great option for those with gluten intolerance or sensitivity.
- Can I double the recipe? Yes, you can easily double or triple the recipe to feed a larger crowd. Simply multiply the ingredients and cook the quesadillas in batches to prevent overcrowding the skillet.
Conclusion
The Cheesy Quesadilla Delight is a delicious and satisfying meal that is perfect for any occasion. With its perfect balance of melted cheese, savory fillings, and crispy tortillas, this dish is sure to become a staple in your kitchen. Whether you’re cooking for a crowd or just a few, this recipe is easy to customize and can be made in no time. So go ahead, get creative, and enjoy the Cheesy Quesadilla Delight!
Cheesy Quesadilla Delight
A delicious and satisfying meal that combines melted cheese, savory fillings, and crispy tortillas.
🥘 Ingredients
👩🍳 Instructions
-
1Preheat a large skillet or griddle over medium-high heat.
-
2Prepare the fillings by shredding the cheese, chopping the onion, bell pepper, and jalapeno, and cooking the chicken or beef (if using).
-
3Place a large tortilla in the skillet and sprinkle a quarter of the cheese and filling mixture onto half of the tortilla.
-
4Fold the tortilla in half to enclose the filling and cook for 2-3 minutes, until the tortilla is crispy and the cheese is melted.