Decadent Coffee and Fudge Ice Cream Cake Recipe
Introduction
Imagine a dessert that combines the richness of coffee and fudge with the creamy texture of ice cream, all layered into a majestic cake that’s sure to impress any gathering. This Decadent Coffee and Fudge Ice Cream Cake Recipe is not only a masterpiece in flavor but also remarkably easy to make, using everyday ingredients that can be found in most kitchens. It’s a perfect blend of creativity and simplicity, making it an ideal choice for both novice bakers and seasoned dessert enthusiasts. With its unique combination of textures and tastes, this cake is sure to be the centerpiece of any meal or celebration.
Why This Works
- Flavor balance and ingredient accessibility: The combination of coffee, fudge, and ice cream creates a balanced and decadent flavor profile that is hard to resist. The ingredients are readily available, making it easy to whip up this dessert at any time.
- Ease of preparation: Despite its impressive appearance, this cake is surprisingly easy to prepare. It involves simple steps like mixing, freezing, and assembling, which can be managed by anyone with basic kitchen skills.
- Impressive results with minimal effort: The end result is a visually stunning and deliciously unique dessert that will leave your guests in awe, all achieved with relatively minimal effort compared to other elaborate desserts.
Ingredients
- 1 1/2 quarts of your favorite coffee ice cream
- 1 cup of fudge sauce (homemade or store-bought)
- 1 cup of heavy cream
- 1 teaspoon of instant coffee powder
- 1/2 teaspoon of vanilla extract
- 1 and 1/2 cups of crushed chocolate sandwich cookies (for the crust)
- 1/4 cup of melted unsalted butter
- 1 cup of chopped walnuts or pecans (optional)
- Whipped cream and chocolate shavings for garnish (optional)
Instructions
- Step 1: Prepare the Crust – In a medium bowl, mix together the crushed cookies and melted butter until well combined. Press this mixture into the bottom of a 9-inch springform pan. Freeze for about 10 minutes to set.
- Step 2: Assemble the Cake – Remove the ice cream from the freezer and let it sit at room temperature for about 10-15 minutes to soften. Scoop the softened ice cream over the cookie crust and smooth the top. Drizzle with fudge sauce and sprinkle with nuts if using. Return the cake to the freezer for at least 2 hours or overnight.
- Step 3: Add the Whipped Cream Layer – Just before serving, whip the heavy cream with the coffee powder and vanilla extract until stiff peaks form. Spread this whipped cream over the top of the ice cream layer.
- Step 4: Final Touches – Garnish with whipped cream, chocolate shavings, or additional nuts if desired. Release the springform pan sides and slice the cake to serve.
Handy Tips
- For a stronger coffee flavor, you can use espresso powder instead of instant coffee powder.
- Consider using different types of ice cream, like mocha or chocolate, for a variation in flavor.
- If you’re using nuts, toast them lightly in a 350°F oven for 5-7 minutes to enhance their flavor and texture.
Heat Control
Since this recipe primarily involves freezing, the main consideration is ensuring that your freezer is at 0°F (-18°C) or below to properly set the ice cream and whipped cream layers. When toasting nuts, keep an eye on them to prevent burning, as this can happen quickly.
Crunch Factor
The crunch in this dessert comes from the cookie crust and the nuts (if used). To maintain this texture, it’s crucial not to overprocess the cookie mixture when making the crust, and to toast the nuts just until fragrant to avoid making them too brittle.
Pro Kitchen Tricks
- Use high-quality ingredients: The flavor of your ice cream cake will only be as good as the ingredients you put into it. Choose a rich, creamy ice cream and a deep, chocolatey fudge sauce for the best results.
- Don’t overmix: Whether you’re making the crust, whipping the cream, or assembling the cake, gentle handling will help preserve the textures and prevent a dense or icy final product.
- Plan ahead: This cake needs time to freeze and set, so make sure you prepare it a day or at least several hours before you plan to serve it.
Storage Tips
- Store the cake in the freezer, covered with plastic wrap or aluminum foil, for up to 3 days.
- For longer storage, consider making the components (like the crust and whipped cream) separately and assembling just before serving.
- When reheating or thawing, do so gently to prevent melting or becoming too soft. A few minutes at room temperature or a short time in the refrigerator should be sufficient.
Gift Packaging Ideas
If you’re giving this cake as a gift, consider packaging it in a decorative tin or a sturdy cardboard box lined with parchment paper. You can also add a personal touch with a ribbon around the box and a gift card with the ingredients or instructions for serving and storing.
Flavor Variations
- Different spices: Add a pinch of cinnamon, nutmeg, or cardamom to the whipped cream for a unique twist.
- Creative toppings: Use different types of nuts, caramel sauce, or even candy pieces to top the cake.
- Ingredient swaps: Substitute the coffee ice cream with another flavor, like peanut butter cup or mint chocolate chip, for a completely different dessert.
Troubleshooting
- Texture problems: If the cake becomes too icy, it may be due to over-freezing. Let it sit at room temperature for a few minutes to soften. If the whipped cream is too runny, refrigerate it for about 10 minutes to firm up.
- Ingredient replacements: If you can’t find a specific ingredient, look for substitutes that offer similar textures and flavors. For example, you could use chocolate chips instead of fudge sauce.
- Over/undercooking signs: Since this dessert is frozen, the main risk is freezer burn from over-freezing. Check the cake periodically, and if you notice any off flavors or textures, it’s best to consume it sooner rather than later.
FAQs
- Can I freeze it? Yes, this cake is designed to be frozen. In fact, freezing is necessary to set the layers properly.
- Is it gluten-free? Depending on the ingredients you choose (like the type of cookies for the crust), this cake can be gluten-free. Just ensure that all your ingredients are gluten-free.
- Can I double the recipe? Yes, you can double the recipe, but keep in mind that you’ll need a larger pan and possibly more freezing time to ensure everything sets properly.
Conclusion
This Decadent Coffee and Fudge Ice Cream Cake Recipe is a game-changer for anyone looking to impress with a dessert that’s both unique and deliciously rich. With its layers of coffee ice cream, fudge sauce, and whipped cream on a crunchy cookie crust, it’s a treat that will satisfy any sweet tooth. Feel free to experiment with the recipe, trying out different flavors and toppings to make it your own. Whether you’re a seasoned baker or just starting out, this cake is sure to become a favorite, and with these tips and tricks, you’ll be well on your way to creating a dessert masterpiece.
Decadent Coffee and Fudge Ice Cream Cake Recipe
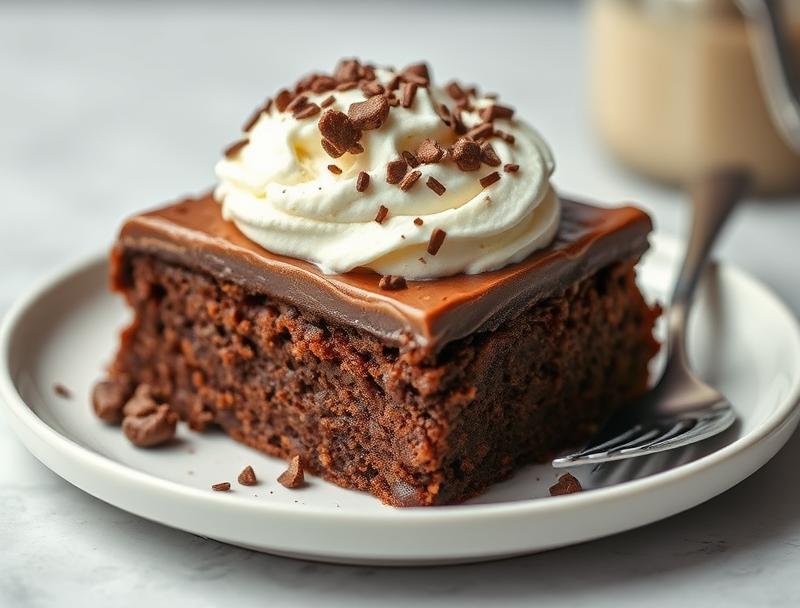
A rich and creamy dessert combining coffee ice cream, fudge sauce, and whipped cream on a crunchy cookie crust.
🥘 Ingredients
👩🍳 Instructions
-
1Prepare the crust by mixing crushed cookies and melted butter, then freeze for 10 minutes.
-
2Assemble the cake by layering ice cream, fudge sauce, and nuts (if using) over the crust, then freeze for at least 2 hours.
-
3Add a whipped cream layer just before serving, flavored with coffee powder and vanilla extract.
-
4Garnish with additional whipped cream, chocolate shavings, or nuts if desired, then serve immediately.