Easy Chocolate Ice Cream Cake Recipe for Summer Desserts
Introduction
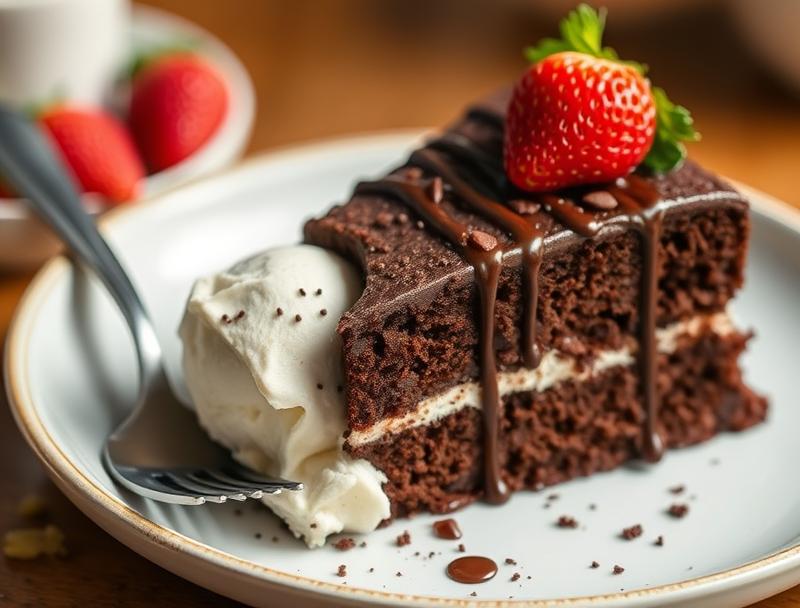
As the summer sun shines bright, there’s no better way to beat the heat than with a cool, creamy, and indulgent dessert. Our easy chocolate ice cream cake recipe is the perfect treat for warm weather gatherings, potlucks, or simply a sweet indulgence at home. Made with everyday ingredients and requiring minimal effort, this recipe is a game-changer for anyone looking to impress their family and friends without spending hours in the kitchen. The combination of rich chocolate and smooth ice cream, layered with moist cake and crunchy toppings, creates a flavor and texture combination that’s hard to resist. Whether you’re! a seasoned baker or a beginner in the kitchen, this recipe is designed to be easy to follow and adaptable to your creative whims.
Why This Works
- The balance of flavors between the deep, dark chocolate and the creamy ice cream is perfectly complemented by the light, airy texture of the cake, making each bite a delightful experience.
- The ease of preparation is a significant advantage, as it allows you to create an impressive dessert with minimal fuss, ideal for last-minute gatherings or special occasions.
- Despite its simplicity, the end result is an impressive and decadent dessert that’s sure to wow your guests, making it perfect for making a statement at any summer party or barbecue.
Ingredients
- 1 1/2 cups all-purpose flour
- 1 cup granulated sugar
- 2 teaspoons baking powder
- 1/2 teaspoon salt
- 1/2 cup unsweetened cocoa powder
- 1/2 cup whole milk, at room temperature
- 2 large eggs, at room temperature
- 1 teaspoon vanilla extract
- 1 1/2 quarts your favorite chocolate ice cream, softened
- 1 cup semi-sweet chocolate chips
- 1 cup chopped nuts or sprinkles for garnish (optional)
Instructions
- Step 1: Prepare the Cake – Preheat your oven to 350°F (180°C). Grease two 9-inch round cake pans and line the bottoms with parchment paper. In a medium bowl, whisk together flour, sugar, baking powder, and salt. In a large mixing bowl, combine cocoa powder and milk, stirring until smooth. Add eggs one at a time, whisking well after each addition, followed by vanilla extract. Gradually add the dry ingredients to the chocolate mixture, whisking until just combined.
- Step 2: Bake the Cake – Divide the batter evenly between the prepared pans and smooth the tops. Bake for 30-35 minutes or until a toothpick inserted in the center comes out clean. Let the cakes cool in the pans for 10 minutes before transferring them to a wire rack to cool completely.
- Step 3: Assemble the Cake – Once the cakes are completely cool, place one layer on a serving plate or cake stand. Spread a thick layer of softened ice cream over the top of the cake. Place the second cake layer on top of the ice cream and press gently to adhere.
- Step 4: Finish with Chocolate and Decorations – Melt the chocolate chips in a double boiler or in the microwave in 30-second increments, stirring between each interval until smooth. Pour the melted chocolate over the top of the cake, allowing it to drizzle down the sides. If desired, sprinkle chopped nuts or sprinkles over the top of the cake before the chocolate hardens.
Handy Tips
- For a more intense chocolate flavor, use dark or bittersweet chocolate for the cake and the glaze.
- Experiment with different types of ice cream, like mint chocolate chip or strawberry, for a unique twist on the classic recipe.
- To ensure the cake layers are even, bake them for the same amount of time and check them frequently towards the end of the baking time.
Heat Control
When baking the cake, it’s crucial to maintain the correct oven temperature and not to overbake. The cakes are done when they are firm to the touch and a toothpick inserted into the center of each cake comes out clean. If you’re melting chocolate for the glaze, be cautious not to overheat it, as this can cause the chocolate to seize up and become grainy.
Crunch Factor
The crunch factor in this dessert comes from the chopped nuts or sprinkles used as a garnish. These add a delightful textural contrast to the smooth ice cream and moist cake. For an extra crunchy element, you could also sprinkle some crushed cookies or wafers over the top of the ice cream before adding the second cake layer.
Pro Kitchen Tricks
- To prevent the cake from becoming too dense, make sure to not overmix the batter, and use room temperature ingredients for a lighter texture.
- For a professional finish, chill the assembled cake in the freezer for about 30 minutes before glazing with chocolate. This will help the chocolate set faster and more evenly.
- Consider making the cake layers ahead of time and freezing them until you’re ready to assemble the dessert. This can be a huge time-saver and ensures that each component is perfectly prepared.
Storage Tips
- Once assembled, the cake should be stored in the freezer to prevent the ice cream from melting. Cover it tightly with plastic wrap or aluminum foil to prevent freezer burn.
- For leftovers, cut the cake into slices and wrap each slice individually in plastic wrap or aluminum foil before placing them in a freezer-safe bag or container.
- The cake can be safely stored in the freezer for up to 3 months. When you’re ready to serve, simply remove the desired number of slices from the freezer and let them sit at room temperature for about 10-15 minutes to soften slightly.
Gift Packaging Ideas
If you’re considering gifting this dessert, a beautifully presented package can make all the difference. Consider placing slices of the cake in decorative ice cream cones or small glass jars, topping them with a dollop of whipped cream and a sprinkle of chocolate shavings. You could also wrap the entire cake in decorative paper or a gift box, finishing it off with a ribbon and a gift tag that says “Cool Treats Inside.”
Flavor Variations
- Try adding a teaspoon of instant coffee powder to the cake batter for a mocha flavor twist.
- Use different types of nuts, like almonds or pecans, for the garnish to change up the flavor and texture.
- For a fruity twist, layer some fresh berries or a fruit sauce between the cake and the ice cream for added flavor and moisture.
Troubleshooting
- If your cake turns out too dense, it might be due to overmixing the batter or using cold ingredients. Try to mix the batter just until the ingredients come together and ensure all ingredients are at room temperature.
- If the ice cream starts to melt during assembly, place the cake in the freezer for a few minutes to firm up before continuing.
- If the chocolate glaze becomes too thick to pour, you can thin it out with a small amount of shortening or coconut oil. If it becomes too thin, let it cool and thicken slightly before using.
FAQs
- Can I freeze it? Yes, the assembled cake can be frozen for up to 3 months. It’s best to freeze it before adding the final layer of chocolate to prevent the chocolate from becoming discolored or developing an off flavor.
- Is it gluten-free? The recipe as written contains gluten due to the all-purpose flour. However, you can substitute the flour with a gluten-free flour blend to make the dessert gluten-free. Note that gluten-free baked goods can have a different texture and may require some trial and error to get right.
- Can I double the recipe? Yes, you can easily double the recipe to make a larger cake. Just keep in mind that you’ll need to adjust the baking time for the cake layers and possibly the freezing time for the assembled cake.
Conclusion
This easy chocolate ice cream cake recipe is a versatile and delicious dessert perfect for summer gatherings. With its simple preparation, impressive presentation, and endless possibilities for customization, it’s sure to become a favorite among your friends and family. Don’t be afraid to experiment with different flavors and toppings to make the dessert truly your own, and enjoy the process of creating something special for those you care about. Happy baking, and let the sweet treats of summer bring joy and cool delight to your table!
Easy Chocolate Ice Cream Cake Recipe for Summer Desserts
A cool, creamy, and indulgent dessert perfect for summer, made with rich chocolate, smooth ice cream, and moist cake.
🥘 Ingredients
👩🍳 Instructions
-
1Preheat oven to 350°F (180°C). Grease and flour two 9-inch round cake pans.
-
2Prepare the cake batter by whisking together dry ingredients and then mixing with wet ingredients until just combined.
-
3Divide the batter evenly between the prepared pans and bake for 30-35 minutes or until a toothpick inserted in the center comes out clean.
-
4Let the cakes cool, then assemble the cake by spreading a thick layer of ice cream over one of the cake layers and topping with the second cake layer.
-
5Melt the chocolate chips and pour over the top of the cake. Decorate with chopped nuts or sprinkles if desired.
-
6Freeze the assembled cake for at least 30 minutes before serving to allow the flavors to meld and the cake to firm up.