Introduction
Transform humble chicken thighs into a show-stopping BBQ masterpiece with this incredibly easy recipe! Forget complicated marinades and hours of prep – this recipe delivers juicy, tender, and perfectly BBQ-glazed chicken thighs in a fraction of the time. Get ready to impress your family and friends with minimal effort and maximum flavor!
Why This Works
This recipe works because it strikes the perfect balance of sweet, smoky, and savory flavors. The bone-in chicken thighs ensure incredibly juicy and tender meat, while the simple BBQ glaze caramelizes beautifully in the oven, creating a delicious crust. The ingredients are readily available, making this a weeknight-friendly recipe that’s both impressive and easy.
Key Ingredients
🍗 2 lbs bone-in, skin-on chicken thighs
🍯 1/2 cup your favorite BBQ sauce
🧄 2 cloves garlic, minced
🌿 1 teaspoon smoked paprika
🧂 1/2 teaspoon salt
🧂 1/4 teaspoon black pepper
Instructions
1️⃣ Preheat & Prep: Preheat your oven to 400°F (200°C). Line a baking sheet with parchment paper for easy cleanup.
2️⃣ Garlic Glaze: In a small bowl, whisk together the BBQ sauce, minced garlic, smoked paprika, salt, and pepper.
3️⃣ Coat the Chicken: Place the chicken thighs on the prepared baking sheet. Using a brush or spoon, generously coat each thigh with the BBQ glaze, ensuring they are evenly covered.
4️⃣ Bake to Perfection: Bake for 35-40 minutes, or until the chicken is cooked through and the internal temperature reaches 165°F (74°C). The juices should run clear when pierced with a fork. For extra crispy skin, broil for the last 2-3 minutes, keeping a close eye to prevent burning.
5️⃣ Rest & Serve: Remove the chicken from the oven and let it rest for 5-10 minutes before serving. This allows the juices to redistribute, resulting in more tender meat.
Handy Tips
- For extra smoky flavor, use a wood chip smoker box in your oven while baking.
- Feel free to experiment with different BBQ sauces – your favorite brand will work perfectly!
- Don’t overcrowd the baking sheet; this will prevent even cooking. Use two baking sheets if necessary.
- If you prefer boneless, skinless thighs, reduce the cooking time to 25-30 minutes.
Heat Control
Oven temperature is crucial for achieving perfectly cooked chicken. 400°F (200°C) ensures the chicken cooks through without drying out. Using a meat thermometer is the best way to ensure the chicken reaches a safe internal temperature of 165°F (74°C). Keep an eye on the chicken during the broiling stage to prevent burning.
Crunch Factor
The broiling step at the end adds a lovely crunch to the skin, creating a delicious contrast to the juicy meat. If you prefer a less crispy skin, skip the broiling step.
Pro Kitchen Tricks
- Marinate the chicken for a few hours (or even overnight) in the refrigerator for even more intense flavor.
- To save time, prep the glaze ahead of time and store it in the fridge until ready to use.
- For easy cleanup, line your baking sheet with foil instead of parchment paper.
Storage Tips
Store leftover chicken thighs in an airtight container in the refrigerator for up to 3 days. Reheat gently in the microwave or oven until heated through.
Gift Packaging Ideas
These BBQ chicken thighs make a fantastic gift! Package individual thighs in attractive foil containers, tied with a ribbon. Alternatively, you could present them in a beautiful basket lined with parchment paper.
Flavor Variations
🌟 Spicy BBQ: Add a pinch of cayenne pepper or a dash of your favorite hot sauce to the glaze.
🌟 Honey Garlic BBQ: Incorporate 2 tablespoons of honey into the glaze for extra sweetness.
🌟 Sweet and Smoky: Add 1 tablespoon of brown sugar and 1/2 teaspoon of liquid smoke to the glaze.
🌟 Chipotle BBQ: Stir in 1 tablespoon of chipotle peppers in adobo sauce for a smoky, spicy kick.
Troubleshooting
- Dry Chicken: If your chicken is dry, you likely overcooked it. Use a meat thermometer to ensure it reaches 165°F (74°C) but no more.
- Burnt Chicken: If your chicken burns, reduce the oven temperature or move the baking sheet to a lower rack. Keep a close eye on it, especially during the broiling stage.
- Unevenly Cooked Chicken: Ensure your chicken thighs are relatively uniform in size. Thicker thighs may require a few extra minutes of cooking time.
FAQ
- Can I use different cuts of chicken? While thighs are ideal for their juiciness, you can use chicken breasts, but they will require less cooking time.
- Can I make this ahead of time? Yes, you can prepare the glaze ahead of time and marinate the chicken for several hours or overnight.
- How do I scale this recipe? Simply multiply the ingredient quantities according to the number of chicken thighs you need.
- Is this recipe gluten-free? Most BBQ sauces are gluten-free, but always check the label to be sure.
- Can I make this recipe dairy-free? Most BBQ sauces are dairy-free, but double-check the ingredients to confirm.
Conclusion
These BBQ baked chicken thighs are a guaranteed crowd-pleaser! Their ease of preparation, incredible flavor, and juicy texture make them perfect for any occasion. Don’t hesitate to experiment with different BBQ sauces and flavor variations to create your own signature dish. Enjoy, and happy cooking!
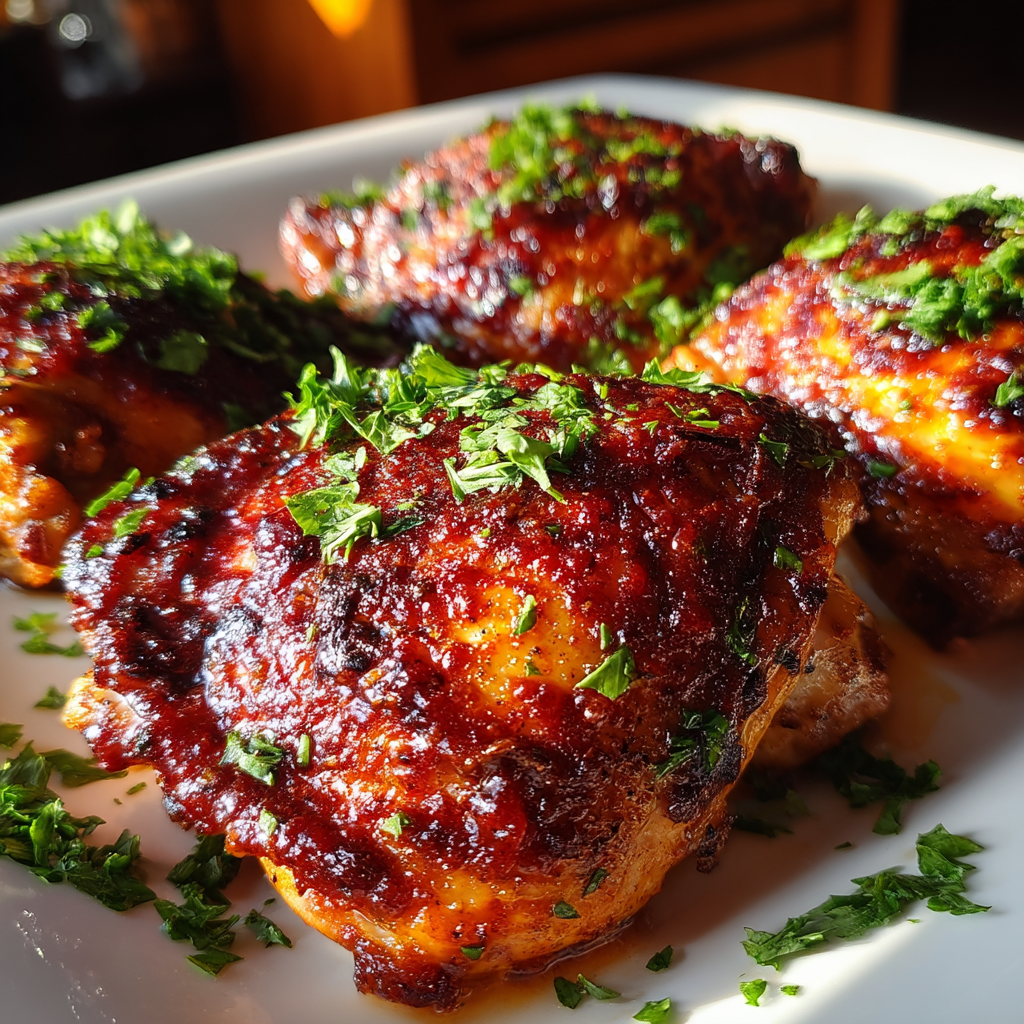
BBQ Baked Chicken Thighs: Fall-Off-the-Bone Delicious
These BBQ baked chicken thighs are tender, juicy, and full of flavor. Perfect for a family dinner or a backyard barbecue.
Ingredients
- 4 bone-in, skin-on chicken thighs
- 1 cup BBQ sauce
- 1 tablespoon olive oil
- 1 teaspoon garlic powder
- 1 teaspoon onion powder
- 1 teaspoon smoked paprika
- Salt and pepper to taste
Instructions
- Preheat your oven to 200u00b0C (400u00b0F).
- In a bowl, mix together the olive oil, garlic powder, onion powder, smoked paprika, salt, and pepper.
- Rub the spice mixture all over the chicken thighs, ensuring they are well coated.
- Place the chicken thighs skin-side up in a baking dish.
- Pour the BBQ sauce evenly over the chicken thighs.
- Cover the baking dish with aluminum foil and bake in the preheated oven for 30 minutes.
- Remove the foil and bake for an additional 30 minutes, basting with the sauce halfway through, until the chicken is cooked through and has a nice glaze.
- Let the chicken rest for 5 minutes before serving.
Tips
- For extra crispy skin, broil the chicken for the last 2-3 minutes of cooking.
- Letting the chicken rest before serving allows the juices to redistribute, making it even more tender.