Creamy Brown Butter Ice Cream Recipe
Introduction
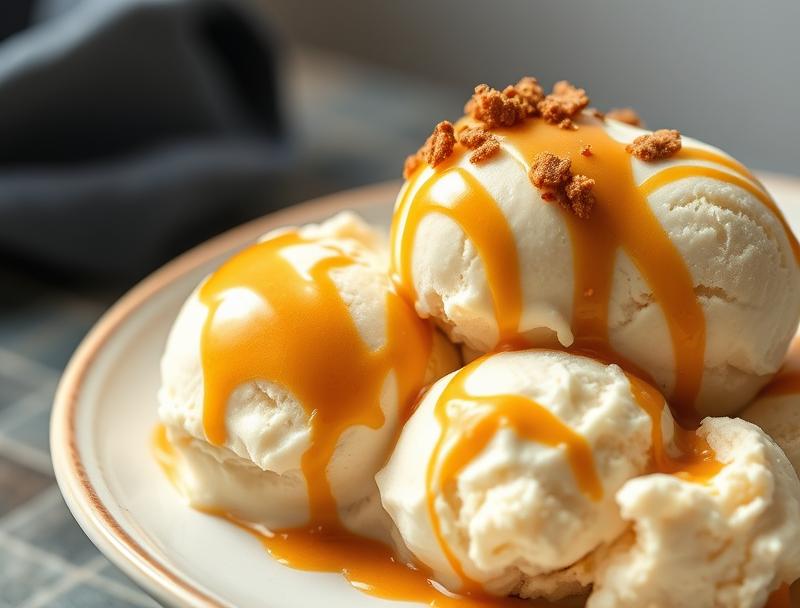
Imagine a scoop of creamy, dreamy ice cream that’s not just a sweet treat, but a masterclass in flavor and texture. Our Creamy Brown Butter Ice Cream Recipe is just that – a game-changing dessert that combines the richness of brown butter with the velvety smoothness of cream, all in one decadent package. The best part? It’s incredibly easy to make, requiring just a few everyday ingredients and some basic kitchen equipment. Whether you’re a seasoned foodie or just looking to elevate your dessert game, this recipe is sure to impress.
Why This Works
- The balance of flavors in this recipe is nothing short of magic, with the nutty, caramel notes of brown butter perfectly complemented by the sweetness of cream and sugar.
- Despite its impressive results, this recipe is surprisingly easy to prepare, requiring just a few minutes of active cooking time and some patience while the mixture churns.
- With its creamy texture and deep, rich flavor, this ice cream is sure to impress even the most discerning palates – and it’s perfect for special occasions or everyday treats.
Ingredients
- 2 cups heavy cream
- 1 cup whole milk
- 1/2 cup granulated sugar
- 1/4 cup brown sugar
- 1/2 teaspoon kosher salt
- 1/2 teaspoon vanilla extract
- 4 tablespoons unsalted butter
Instructions
- Step 1: Brown the Butter – In a medium saucepan, melt the butter over medium heat. Continue cooking, stirring occasionally, until the butter turns a deep golden brown and smells nutty, about 5-7 minutes.
- Step 2: Combine the Cream and Sugar – In a large mixing bowl, whisk together the heavy cream, whole milk, granulated sugar, brown sugar, and salt until the sugars are fully dissolved.
- Step 3: Churn the Ice Cream – Pour the cream mixture into an ice cream maker and churn according to the manufacturer’s instructions. Once the ice cream is nearly fully churned, stir in the brown butter and vanilla extract.
- Step 4: Freeze and Enjoy – Transfer the ice cream to an airtight container and freeze for at least 2 hours to set. Scoop and serve – and be sure to share with friends and family!
Handy Tips
- For the best flavor, be sure to use high-quality ingredients, including real vanilla extract and fresh cream.
- If you don’t have an ice cream maker, you can also freeze the mixture in a shallow metal pan and then blend it in a food processor once it’s frozen solid – this will give you a slightly chunkier texture, similar to gelato.
- Consider adding in some mix-ins, like chopped nuts or candy pieces, to give your ice cream some extra texture and flavor.
Heat Control
When browning the butter, it’s essential to keep a close eye on the temperature – if it gets too hot, the butter can quickly go from perfectly browned to burnt and unpleasant. Aim for a medium heat, and stir the butter occasionally to prevent it from burning.
Crunch Factor
This ice cream is all about creamy texture, but if you want to add some crunch, consider mixing in some chopped nuts or cookie pieces. You could also try topping your ice cream with some crunchy elements, like toasted pecans or crushed wafers.
Pro Kitchen Tricks
- For the fluffiest, most tender ice cream, be sure to age the mixture in the fridge for at least 2 hours before churning – this will allow the flavors to meld and the mixture to chill fully.
- Consider using a mixture of cream and milk to get the perfect balance of flavor and texture – the cream will add richness and body, while the milk will keep the ice cream light and refreshing.
- Don’t over-churn the ice cream – this can lead to a dense, icy texture that’s unpleasant to eat. Instead, aim for a smooth, creamy texture that’s just firm enough to hold its shape.
Storage Tips
- Store your ice cream in an airtight container in the freezer to keep it fresh – and be sure to press a piece of plastic wrap or parchment paper directly onto the surface of the ice cream to prevent ice crystals from forming.
- If you won’t be using your ice cream for a while, consider transferring it to a freezer-safe bag or container and storing it in the freezer for up to 3 months.
- When you’re ready to serve, simply scoop the ice cream into bowls and top with your favorite mix-ins – or get creative and make some ice cream sandwiches or sundaes!
Gift Packaging Ideas
This ice cream is perfect for gifting to friends and family – and with a few simple packaging ideas, you can make it look almost as good as it tastes. Consider transferring the ice cream to a decorative tin or jar, and topping it with a ribbon or gift tag. You could also try making some ice cream sandwiches or sundaes and packaging them in cute containers or bags.
Flavor Variations
- Consider adding some different spices or flavorings to your ice cream to give it a unique twist – some ideas include cinnamon, nutmeg, or cardamom.
- Get creative with your mix-ins – some ideas include chopped nuts, candy pieces, or even cookie dough or brownie bits.
- Swap out the brown butter for some other type of nutty or caramel-flavored ingredient – some ideas include peanut butter, almond butter, or dulce de leche.
Troubleshooting
- If your ice cream is too icy or hard, it may be because it was over-churned or because the mixture wasn’t aged long enough – try letting it sit at room temperature for 10-15 minutes to soften before serving.
- If your ice cream is too soft or runny, it may be because it wasn’t frozen long enough – try transferring it to the freezer and letting it chill for another 30 minutes before serving.
- If you’re having trouble getting your ice cream to churn properly, it may be because the mixture is too cold or too warm – try adjusting the temperature and trying again.
FAQs
- Can I freeze it? Yes – in fact, this ice cream is best stored in the freezer to keep it fresh and prevent it from melting.
- Is it gluten-free? Yes – this recipe is gluten-free, making it perfect for those with dietary restrictions.
- Can I double the recipe? Yes – simply multiply all the ingredients by two and proceed with the recipe as instructed. Keep in mind that you may need to adjust the cooking time slightly if you’re making a larger batch.
Conclusion
And there you have it – a creamy, dreamy ice cream recipe that’s sure to become a new favorite. With its rich, nutty flavor and velvety texture, this ice cream is perfect for special occasions or everyday treats. So go ahead, get creative, and enjoy every last bite – and don’t forget to share your favorite flavor variations and mix-ins with us!
Creamy Brown Butter Ice Cream Recipe
A rich and creamy ice cream recipe with the deep, nutty flavor of brown butter and the smooth texture of heavy cream and whole milk.
🥘 Ingredients
👩🍳 Instructions
-
1Brown the butter in a medium saucepan over medium heat, stirring occasionally, until it turns a deep golden brown and smells nutty.
-
2Combine the heavy cream, whole milk, granulated sugar, brown sugar, and salt in a large mixing bowl and whisk until the sugars are fully dissolved.
-
3Churn the ice cream in an ice cream maker according to the manufacturer's instructions, then stir in the brown butter and vanilla extract.
-
4Transfer the ice cream to an airtight container and freeze for at least 2 hours to set before serving.