Fall Favorite! Best Apple Cider Caramel Cookies: Super Easy Seasonal Recipe
Introduction
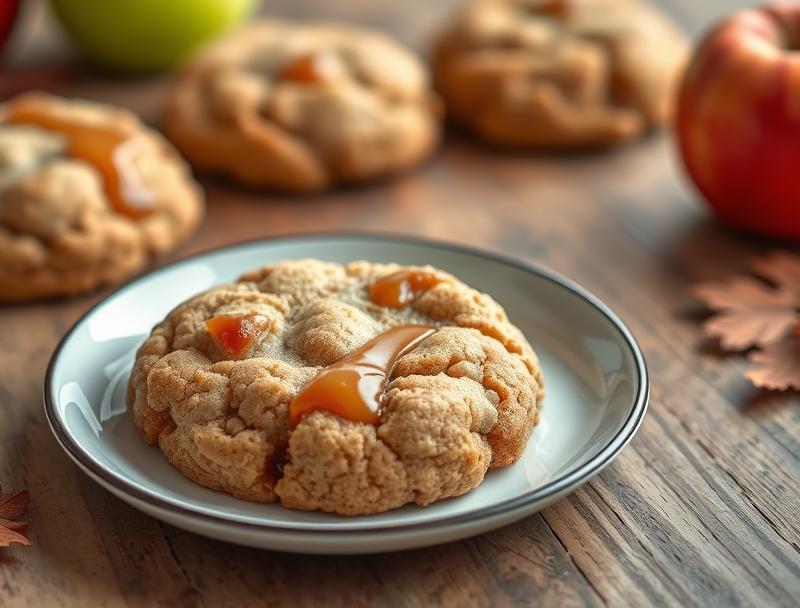
As the leaves change colors and the air grows crisp, our taste buds start to crave the warm, comforting flavors of fall. Among the many delights of the season, apple cider caramel cookies stand out as a true favorite. These chewy, caramel-filled treats are infused with the sweetness of apple cider, making them a perfect seasonal indulgence. The best part? They’re incredibly easy to make, requiring only a few everyday ingredients and some simple steps. Whether you’re a seasoned baker or a beginner in the kitchen, this recipe is sure to become a new fall tradition.
Why This Works
- Flavor balance and ingredient accessibility: The combination of apple cider, caramel, and traditional cookie ingredients creates a unique and delicious flavor profile that’s easy to achieve with readily available ingredients.
- Ease of preparation: Despite their impressive flavor and texture, these cookies are surprisingly simple to prepare, requiring minimal effort for maximum reward.
- Impressive results with minimal effort: The caramel filling and apple cider glaze make these cookies look and taste like they came from a professional bakery, but they can be made in the comfort of your own home with just a few extra steps.
Ingredients
- 2 1/4 cups all-purpose flour
- 1 tsp baking soda
- 1 tsp salt
- 1 cup unsalted butter, at room temperature
- 3/4 cup white granulated sugar
- 1 cup brown sugar
- 2 large eggs
- 2 tsp vanilla extract
- 1 cup apple cider
- Caramel filling (store-bought or homemade)
- Optional: chopped nuts or sea salt for topping
Instructions
- Step 1: Preheat your oven to 375°F (190°C). Line a baking sheet with parchment paper or a silicone mat.
- Step 2: In a medium bowl, whisk together the flour, baking soda, and salt. Set aside.
- Step 3: In a large bowl, use an electric mixer to cream together the butter and sugars until light and fluffy. Beat in the eggs one at a time, followed by the vanilla extract.
- Step 4: Gradually mix in the flour mixture until just combined, being careful not to overmix. Stir in the apple cider.
- Step 5: Scoop tablespoon-sized balls of dough onto the prepared baking sheet, leaving about 2 inches of space between each cookie.
- Step 6: Bake for 12-14 minutes, or until the edges are lightly golden. Allow the cookies to cool on the baking sheet for 5 minutes before transferring them to a wire rack to cool completely.
- Step 7: Once the cookies are cool, use a small cookie scoop or a knife to create a hole in the center of each cookie. Fill the hole with caramel filling.
- Step 8: Drizzle the tops of the cookies with additional caramel and sprinkle with chopped nuts or sea salt, if desired.
Handy Tips
- To ensure the cookies retain their shape, chill the dough for 30 minutes before baking.
- For an extra crispy cookie, bake for 14-16 minutes. For a chewier cookie, bake for 10-12 minutes.
- Experiment with different types of caramel filling or add-ins, like nuts or dried fruit, to create unique flavor combinations.
Heat Control
When baking these cookies, it’s essential to keep an eye on the temperature and timing. The ideal baking temperature is 375°F (190°C), and the cookies should be baked for 12-14 minutes, or until the edges are lightly golden. If you prefer a crisper cookie, you can bake them for an additional 2-3 minutes, but be careful not to overbake.
Crunch Factor
The texture of these cookies is chewy on the inside and crispy on the outside, with a gooey caramel center. To achieve this perfect texture, make sure to not overbake the cookies and to fill them with caramel while they’re still slightly warm. If you prefer a crunchier cookie, you can try baking them for a few minutes longer or adding some chopped nuts to the dough.
Pro Kitchen Tricks
- To make the caramel filling from scratch, melt 1 cup of sugar and 1/2 cup of heavy cream in a saucepan over low heat, stirring constantly. Bring the mixture to a boil, then reduce the heat and simmer for 5-7 minutes, or until the caramel turns a deep amber color.
- For an easy cleanup, line your baking sheet with parchment paper or a silicone mat. This will prevent the cookies from sticking and make cleanup a breeze.
- To add an extra layer of flavor to your cookies, try using different types of sugar, like brown sugar or turbinado sugar, or adding a sprinkle of sea salt on top of the cookies before baking.
Storage Tips
- Store the cookies in an airtight container at room temperature for up to 5 days.
- Freeze the cookies for up to 2 months. Simply place the cookies in a single layer in a freezer-safe bag or container and store in the freezer.
- To reheat the cookies, simply microwave them for 10-15 seconds or bake them in a preheated oven at 350°F (180°C) for 5-7 minutes.
Gift Packaging Ideas
These cookies are perfect for gift-giving, especially during the fall season. Consider packaging them in a decorative tin or jar, or wrapping them individually in plastic wrap or cellophane bags. You can also add a ribbon or a gift tag to make the gift even more special. For a more rustic look, try packaging the cookies in a paper bag or a burlap sack with a twine tie.
Flavor Variations
- Try adding different spices, like cinnamon or nutmeg, to the dough for an extra boost of flavor.
- Experiment with different types of caramel filling, like sea salt caramel or caramel with nuts or dried fruit.
- Swap out the apple cider for a different type of juice, like cranberry or grapefruit, for a unique flavor twist.
Troubleshooting
- If the cookies are too hard or crunchy, try baking them for a shorter amount of time or adding more apple cider to the dough.
- If the cookies are too soft or chewy, try baking them for a longer amount of time or adding more flour to the dough.
- If the caramel filling is too runny, try refrigerating it for 30 minutes before filling! the cookies.
FAQs
- Can I freeze the dough? Yes, you can freeze the dough for up to 2 months. Simply scoop the dough into balls, place them on a baking sheet lined with parchment paper, and freeze until solid. Transfer the frozen dough balls to a freezer-safe bag or container and store in the freezer.
- Is this recipe gluten-free? No, this recipe contains wheat flour and is not gluten-free. However, you can try substituting the wheat flour with a gluten-free flour blend for a gluten-free version.
- Can I double the recipe? Yes, you can easily double or triple the recipe to make more cookies. Simply multiply the ingredients and follow the same instructions.
Conclusion
These apple cider caramel cookies are a true fall favorite, and for good reason. They’re easy to make, deliciously flavorful, and perfect for gift-giving or snacking. With their chewy texture, gooey caramel center, and crunchy exterior, they’re sure to become a new seasonal tradition. So go ahead, give this recipe a try, and enjoy the warm, comforting flavors of fall in every bite!
Fall Favorite! Best Apple Cider Caramel Cookies: Super Easy Seasonal Recipe
Delicious and easy-to-make apple cider caramel cookies, perfect for fall. Chewy on the inside, crispy on the outside, and filled with gooey caramel.
🥘 Ingredients
👩🍳 Instructions
-
1Preheat oven to 375°F (190°C).
-
2Whisk together flour, baking soda, and salt.
-
3Cream together butter and sugars, then beat in eggs and vanilla extract.
-
4Gradually mix in flour mixture, then stir in apple cider.
-
5Scoop dough into balls and bake for 12-14 minutes.
-
6Fill cookies with caramel and drizzle with additional caramel, if desired.