Cheese Chaffle: Low Carb Grilled Cheese Waffle
Introduction
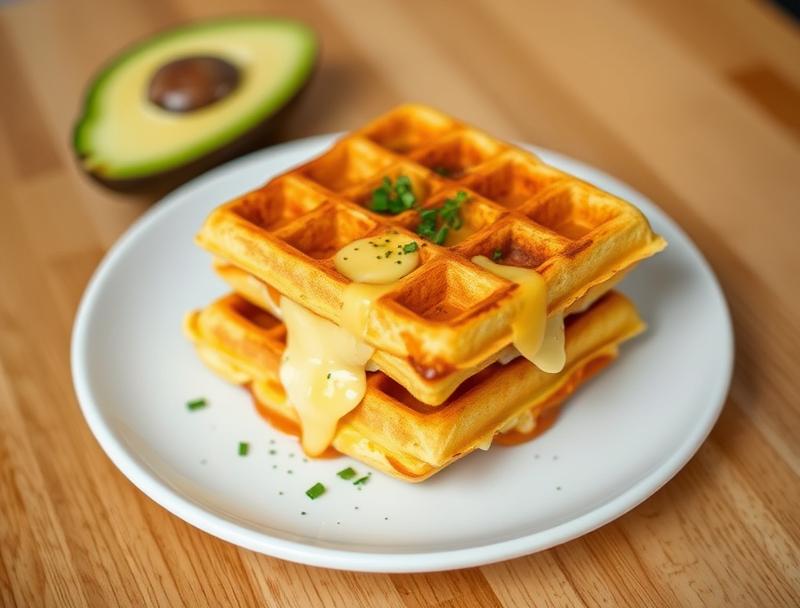
Imagine a world where the comfort of a grilled cheese sandwich meets the crispy, golden delight of a waffle, all while keeping your carb intake in check. Welcome to the realm of the Cheese Chaffle, a low-carb, grilled cheese waffle that is as easy to make as it is delicious to eat. With everyday ingredients and a dash of creativity, you can bring this mouthwatering dish to your breakfast, lunch, or dinner table. The Cheese Chaffle is not just a meal; it’s an experience that combines the best of both worlds, offering a satisfying crunch on the outside and a gooey, cheesy interior that will leave you wanting more.
Why This Works
- Flavor balance and ingredient accessibility: The Cheese Chaffle strikes a perfect balance between the richness of cheese and the lightness of the waffle batter, using ingredients that are easily found in most kitchens.
- Ease of preparation: With a simple recipe that requires minimal preparation time, you can have your Cheese Chaffle ready in no time, making it perfect for busy days or leisurely meals.
- Impressive results with minimal effort: Despite its simplicity, the Cheese Chaffle presents beautifully and tastes divine, making it an impressive dish to serve to family and friends without requiring hours of cooking time.
Ingredients
- 2 cups shredded cheese (such as cheddar, mozzarella, or a blend)
- 2 large eggs
- 1/2 cup almond flour
- 1/4 teaspoon salt
- 1/4 teaspoon black pepper
- 1 tablespoon melted butter
- Optional: Garlic powder, paprika, or other seasonings of your choice
Instructions
- Step 1: Preheat your waffle iron according to the manufacturer’s instructions. In a large bowl, whisk together the eggs, shredded cheese, almond flour, salt, pepper, and any desired seasonings until well combined.
- Step 2: Add the melted butter to the cheese mixture and stir until the batter is smooth. The consistency should be thick but still pourable. If needed, adjust the consistency with a little more almond flour or egg.
- Step 3: Once the waffle iron is hot, pour about 1/4 cup of the cheese batter onto the center of the iron. Spread it out slightly to form a round shape, leaving a small border around the edges to allow for even cooking.
- Step 4: Close the waffle iron and cook for about 3-5 minutes, or until the cheese is melted, and the edges are golden brown. Repeat with the remaining batter, greasing the waffle iron with cooking spray or oil if necessary to prevent sticking.
Handy Tips
- For an extra crispy exterior, make sure the waffle iron is hot before adding the batter. You can test the heat by flicking a few drops of water onto the iron; if they sizzle and evaporate quickly, it’s ready.
- Don’t overfill the waffle iron, as this can lead to a messy cleanup and a cheese chaffle that’s difficult to remove.
- Experiment with different types of cheese and seasonings to find your favorite flavor combinations.
Heat Control
Maintaining the right temperature is crucial for achieving the perfect Cheese Chaffle. Most waffle irons have a heat setting; if yours does, use a medium to high heat. If your iron doesn’t have specific settings, preheat it for a few minutes until it’s hot. The ideal cooking time will depend on your iron and the thickness of your batter, but generally, 3-5 minutes per chaffle is a good rule of thumb. Look for a golden brown color and a crispy texture to know it’s done.
Crunch Factor
The crunch of the Cheese Chaffle comes from the waffle iron’s ability to crisp the exterior while keeping the interior cheesy and soft. To enhance the crunch, ensure the waffle iron is clean and hot before use. A small amount of cooking spray or oil can also help achieve a crisper exterior without sticking to the iron. For an extra crunchy version, you can broil the chaffles for a minute after they’re cooked, watching closely to prevent burning.
Pro Kitchen Tricks
- Use a variety of cheeses for a deeper flavor profile. Combining sharp cheddar with mozzarella or parmesan can add complexity to your Cheese Chaffle.
- Don’t overmix the batter, as this can lead to a dense chaffle. Stop mixing once the ingredients are just combined.
- Keep your waffle iron clean by wiping it down with a paper towel after each use. For stuck-on cheese, let the iron cool, then wipe it clean with a damp cloth.
Storage Tips
- Leftover Cheese Chaffles can be stored in an airtight container in the refrigerator for up to 3 days. Reheat them in the microwave or oven until warmed through and crispy again.
- For longer storage, consider freezing the chaffles. Place them in a single layer on a baking sheet, then transfer them to a freezer-safe bag or container once frozen. Reheat frozen chaffles in the oven at 350°F (180°C) for about 10 minutes, or until crispy and heated through.
Gift Packaging Ideas
If you’re looking to share your Cheese Chaffles with friends or family, consider packaging them in decorative tins or jars. Wrap each chaffle individually in parchment paper or aluminum foil and place them in the tin. Add a ribbon and a gift tag with heating instructions for a thoughtful touch. For a more rustic presentation, use a wooden crate or a baskets lined with a checkered cloth, perfect for a homemade gift.
Flavor Variations
- Different spices: Add a pinch of cayenne pepper for a spicy kick, or use smoked paprika for a smoky flavor.
- Creative toppings: Once your Cheese Chaffle is cooked, top it with sliced meats, fresh herbs, or a dollop of sour cream for added flavor and texture.
- Ingredient swaps: Replace almond flour with coconut flour for a different nutritional profile, or use different types of cheese for varying flavor profiles.
Troubleshooting
- Texture problems: If your Cheese Chaffle turns out too dense, it may be due to overmixing the batter. Try mixing the ingredients just until they come together for a lighter texture.
- Ingredient replacements: If you don’t have almond flour, you can experiment with other low-carb flours, though keep in mind that the flavor and texture may vary.
- Over/undercooking signs: A chaffle that’s undercooked will be soft and pale, while an overcooked one will be dark brown and possibly burnt. Adjust your cooking time based on your waffle iron’s performance and the thickness of your batter.
FAQs
- Can I freeze it? Yes, Cheese Chaffles can be frozen for up to 2 months. Simply thaw and reheat when you’re ready to eat them.
- Is it gluten-free? Yes, as long as you use gluten-free cheese and ensure your almond flour is processed in a gluten-free facility, the Cheese Chaffle is gluten-free.
- Can I double the recipe? Absolutely. Simply multiply all the ingredients by two and cook the chaffles in batches if necessary, to prevent overcrowding the waffle iron.
Conclusion
The Cheese Chaffle is more than just a recipe; it’s a culinary experience waiting to happen. With its perfect blend of crispy exterior and gooey, cheesy interior, it’s a dish that will quickly become a favorite. Whether you’re a fan of grilled cheese, waffles, or just looking for a new low-carb meal idea, the Cheese Chaffle delivers. So go ahead, experiment with different cheeses and seasonings, and share your creations with friends and family. The world of Cheese Chaffles is waiting for you, full of flavor, fun, and endless possibilities.
Cheese Chaffle: Low Carb Grilled Cheese Waffle
A low-carb, grilled cheese waffle made with shredded cheese, eggs, and almond flour, perfect for breakfast, lunch, or dinner.
🥘 Ingredients
👩🍳 Instructions
-
1Preheat the waffle iron and mix the cheese, eggs, almond flour, salt, pepper, and melted butter in a bowl.
-
2Pour about 1/4 cup of the cheese batter onto the center of the waffle iron and cook for 3-5 minutes or until golden brown.
-
3Repeat with the remaining batter and serve hot.
-
4Optional: Broil for an extra minute for a crisper exterior or top with additional ingredients for extra flavor.