Introduction
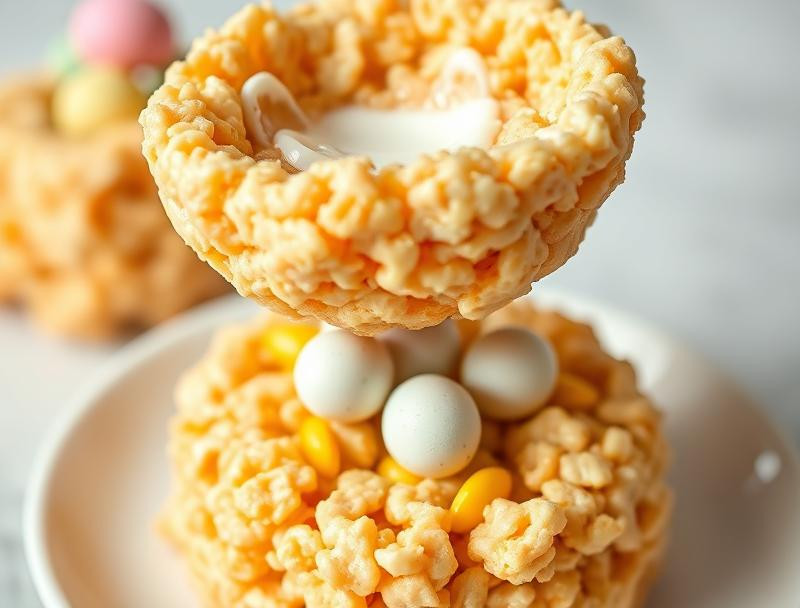
Spring has sprung, and what better way to celebrate than with these adorable and delicious Rice Krispie Easter Nests? We’re taking a classic treat and giving it a fun, festive makeover – perfect for Easter baskets, spring parties, or just a sweet afternoon snack. Get ready to transform simple ingredients into a delightful springtime dessert that the whole family will love!
Why This Works
This recipe is a winner because it’s incredibly easy, uses ingredients you probably already have, and delivers big on flavor and fun! The Rice Krispies provide a perfectly crunchy base, while the melted marshmallows create a gooey, sweet center. Plus, the little nests are so cute, they’re almost too pretty to eat (almost!).
Key Ingredients
- 🧈 6 tablespoons unsalted butter
- 🍯 1 (10 ounce) package marshmallows
- 🥣 6 cups Rice Krispies cereal
- 🥚 Mini chocolate eggs, for decorating
- 🐥 Jelly beans, for decorating
Instructions
1️⃣ Melt the butter: In a large saucepan over low heat, melt the butter completely.
2️⃣ Add the marshmallows: Add the marshmallows to the melted butter and stir constantly until completely melted and smooth. Be patient and keep stirring to prevent burning!
3️⃣ Combine with cereal: Remove the pan from the heat and gently stir in the Rice Krispies cereal until evenly coated.
4️⃣ Shape the nests: Lightly grease a muffin tin or use paper liners. Spoon the Rice Krispie mixture into each cup, pressing down gently to form a nest shape. Leave a small space in the center of each nest.
5️⃣ Decorate: While the Rice Krispies are still warm and slightly sticky, quickly press mini chocolate eggs and jelly beans into the center of each nest.
6️⃣ Cool and enjoy: Let the nests cool completely before serving.
Handy Tips
- Use a spatula to help you get all the marshmallow mixture into the muffin tin.
- Don’t overcook the marshmallows or they will get too hard.
- If your mixture seems too sticky, add a tablespoon or two more of Rice Krispies.
Heat Control
Low and slow is the key here! Melting the marshmallows over low heat prevents burning and ensures a smooth, creamy texture. High heat will scorch the marshmallows, ruining your delicious nests.
Crunch Factor
The Rice Krispies provide the perfect level of crunch, contrasting beautifully with the soft, gooey marshmallow center. The mini chocolate eggs add another delightful textural element!
Pro Kitchen Tricks
- For even easier cleanup, spray your saucepan with cooking spray before melting the butter and marshmallows.
- Get creative with your decorations! Use different colored sprinkles, candies, or even small plastic Easter eggs.
- Make these ahead of time! Store them in an airtight container at room temperature for up to 3 days.
Storage Tips
Store your Rice Krispie Easter nests in an airtight container at room temperature for up to 3 days. They’ll stay delightfully crunchy!
Gift Packaging Ideas
These adorable nests are perfect for gifting! Place individual nests in cellophane bags tied with ribbon, or arrange them in a pretty basket lined with Easter grass. A personalized tag adds a special touch!
Flavor Variations
🌟 Peanut Butter Nests: Stir in 1/2 cup of creamy peanut butter with the melted marshmallows.
🌟 Coconut Nests: Add 1/2 cup of shredded coconut to the Rice Krispies mixture.
🌟 Chocolate Nests: Mix in 1/2 cup of semi-sweet chocolate chips with the melted marshmallows.
🌟 Fruity Nests: Add a handful of your favorite dried fruits (cranberries, raisins, etc.) to the Rice Krispies mixture.
Troubleshooting
- Too sticky: Add a few more Rice Krispies to absorb the excess moisture.
- Too hard: You may have overcooked the marshmallows. Try again, stirring constantly over low heat.
- Nests won’t hold their shape: Make sure the Rice Krispies mixture is still warm and slightly sticky when you press it into the muffin cups.
FAQ
- Can I use a different type of cereal? While Rice Krispies create the best texture for nests, you can experiment with other crispy cereals like corn flakes.
- Can I make these ahead of time? Yes! Store them in an airtight container at room temperature for up to 3 days.
- How many nests does this recipe make? This recipe makes approximately 12-15 nests, depending on the size of your muffin tin.
- What can I use to decorate besides chocolate eggs and jelly beans? Get creative! Use sprinkles, mini marshmallows, shredded coconut, or even small candy-coated chocolates.
- Are these nests gluten-free? Rice Krispies are not naturally gluten-free, so these nests are not gluten-free.
Conclusion
These Rice Krispie Easter nests are a guaranteed crowd-pleaser! So easy to make and utterly delicious, they’re the perfect springtime treat for Easter celebrations or any occasion that calls for a touch of sweetness. Share your creations with us on social media – we can’t wait to see your adorable nests! Happy Baking!
Easter Rice Krispie Nests: So Easy, So Cute!
Delicious and fun Rice Krispie nests filled with chocolate and candy, perfect for Easter celebrations.
Ingredients
- 4 cups Rice Krispies
- 1 bag (10 oz) marshmallows
- 3 tablespoons unsalted butter
- 1 cup chocolate chips
- 1 cup shredded coconut
- Assorted candy eggs for decoration
Instructions
- In a large saucepan, melt the butter over low heat. Add the marshmallows and stir until completely melted.
- Remove from heat and add the Rice Krispies, mixing until well coated.
- Let the mixture cool slightly, then use your hands to form small nests on a parchment-lined baking sheet.
- Melt the chocolate chips in a microwave-safe bowl, stirring every 30 seconds until smooth.
- Drizzle the melted chocolate over the nests and sprinkle with shredded coconut.
- Place candy eggs in the center of each nest and let the nests set for about an hour.
Tips
- Use buttered hands to prevent sticking when forming the nests.
- Feel free to customize with different types of candy or sprinkles for decoration.