Easy Halloween Brookies Everyone Will Love
Introduction
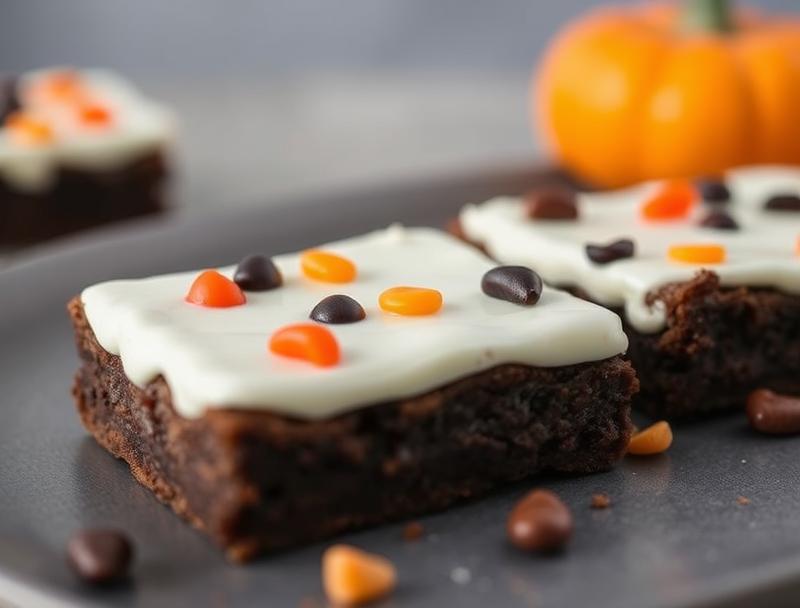
As the spookiest time of the year approaches, what better way to get into the Halloween spirit than with a treat that combines the best of both worlds – the chewiness of brownies and the crunch of cookies? Introducing the Easy Halloween Brookies, a delightful dessert that’s perfect for parties, trick-or-treaters, or just a fun night in with the family. Made with everyday ingredients and requiring minimal effort, these brookies are not only easy to make but also offer a world of creativity with their customizable toppings and mix-ins. Whether you’re a fan of chocolate, nuts, or candy pieces, there’s a way to make these brookies uniquely yours. So, let’s dive into the world of brookies and discover why they’re the perfect Halloween treat.
Why This Works
- Flavor balance and ingredient accessibility: The combination of rich, fudgy brownie and crunchy cookie gives these brookies a perfect balance of textures and flavors, all made possible with ingredients you likely have on hand.
- Ease of preparation: With a simple recipe that requires minimal prep and no special equipment, these brookies are a breeze to make, even for the most novice bakers.
- Impressive results with minimal effort: Despite their simplicity, these brookies are sure to impress with their decadent taste and customizable appearance, making them perfect for Halloween gatherings or as a special treat for the kids.
Ingredients
- 1 and 1/2 sticks of unsalted butter, plus more for greasing the pan
- 2 cups of sugar
- 4 large eggs
- 1/2 cup of unsweetened cocoa powder
- 1 teaspoon of vanilla extract
- 1 and 1/4 cups of all-purpose flour
- 1 teaspoon of salt
- 1 cup of semi-sweet chocolate chips
- 1 cup of chopped walnuts or pecans (optional)
- Halloween-themed toppings such as candy eyes, sprinkles, or chopped candy bars
Instructions
- Step 1: Preheat your oven to 350°F (180°C). Grease an 8-inch square baking pan with butter and line it with parchment paper, leaving some overhang for easy removal.
- Step 2: In a medium bowl, whisk together the flour and salt. Set aside. In a large bowl, use an electric mixer to beat together the butter and sugar until light and fluffy, about 2-3 minutes. Beat in the eggs one at a time, followed by the cocoa powder and vanilla extract.
- Step 3: Gradually mix in the flour mixture until just combined, being careful not to overmix. Stir in the chocolate chips and nuts (if using). Pour half of the batter into the prepared baking pan and smooth the top.
- Step 4: For the cookie layer, you can either use store-bought cookie dough or make your own. If making your own, cream together butter and sugar, then beat in eggs and vanilla. Gradually mix in flour until a dough forms. Drop spoonfuls of the cookie dough onto the brownie batter, leaving some space between each cookie for spreading. Top with the remaining brownie batter and smooth the top. Bake for 35-40 minutes or until a toothpick inserted into the center comes out with a few moist crumbs attached.
- Step 5: Allow the brookies to cool completely in the pan before cutting into bars and decorating with your choice of Halloween-themed toppings.
Handy Tips
- To ensure the brookies are evenly baked, rotate the pan halfway through the baking time.
- For an extra crunchy top, broil the brookies for 1-2 minutes after baking. Keep a close eye to prevent burning.
- Consider using different types of chocolate chips or nuts to change up the flavor profile of your brookies.
Heat Control
When baking the brookies, it’s crucial to keep an eye on them to avoid overcooking. The ideal temperature is 350°F (180°C), and the baking time should be around 35-40 minutes. Signs of doneness include a toothpick inserted into the center coming out with a few moist crumbs and the edges being set while the center is slightly tender. If you’re unsure, it’s always better to err on the side of undercooking, as the brookies will continue to cook a bit after being removed from the oven.
Crunch Factor
Achieving the perfect crunch factor in your brookies is all about balance. The cookie layer on top should be slightly golden and crunchy, while the brownie layer underneath remains fudgy. To enhance the crunch, consider adding chopped nuts or candy pieces to the cookie dough. For an extra crunchy cookie top, you can also try baking the brookies for an additional 2-3 minutes, though be cautious not to overdo it.
Pro Kitchen Tricks
- To make your brookies more visually appealing, press a few extra chocolate chips into the top of the cookie layer immediately after baking, while the brookies are still warm.
- For easier cutting, refrigerate the brookies for about 30 minutes before slicing. This will help them hold their shape better and prevent them from falling apart.
- Consider making a batch of brookies ahead of time and freezing them. They freeze beautifully and can be thawed at room temperature when you’re ready to serve.
Storage Tips
- Leftover brookies can be stored in an airtight container at room temperature for up to 3 days.
- For longer storage, consider freezing the brookies. Wrap them tightly in plastic wrap or aluminum foil and place in a freezer-safe bag. Frozen brookies will keep for up to 2 months. To thaw, leave at room temperature or refrigerate overnight.
- When reheating frozen brookies, wrap them in foil and warm in a preheated oven at 300°F (150°C) for about 10 minutes, or until warmed through.
Gift Packaging Ideas
If you’re looking to give your brookies as a gift, consider packaging them in a decorative tin or jar. Wrap each brookie individually in plastic wrap or parchment paper and place them in the container. You can then decorate the outside with ribbons, stickers, or other Halloween-themed decorations. Another idea is to place a few brookies in a cellophane bag and tie the top with a ribbon, adding a gift tag with a personal message. Whatever method you choose, your brookies are sure to be a hit as a gift for friends, family, or coworkers.
Flavor Variations
- Different spices: Consider adding a pinch of cinnamon, nutmeg, or cayenne pepper to the brownie or cookie dough for a unique twist.
- Creative toppings: Use your favorite candy pieces, nuts, or even dried fruits to customize the top of your brookies.
- Ingredient swaps: Try using different types of chocolate chips, such as white chocolate or peanut butter chips, to change up the flavor profile of your brookies.
Troubleshooting
- Texture problems: If your brookies turn out too dense, it may be due to overmixing the batter. Try mixing the ingredients just until combined and avoiding overbaking.
- Ingredient replacements: If you’re missing an ingredient, consider substitutions. For example, you can use melted chocolate instead of chocolate chips or applesauce as a replacement for some of the oil.
- Over/undercooking signs: Keep an eye on your brookies while they’re baking. If the edges start to pull away from the pan and the center is set, they’re done. If you’re unsure, it’s always better to err on the side of undercooking, as the brookies will continue to cook a bit after being removed from the oven.
FAQs
- Can I freeze it? Yes, brookies freeze beautifully. Wrap them tightly and place in a freezer-safe bag for up to 2 months.
- Is it gluten-free? The traditional recipe includes gluten due to the wheat flour. However, you can make gluten-free brookies by substituting the flour with a gluten-free flour blend.
- Can I double the recipe? Yes, you can easily double the recipe to make more brookies. Just keep in mind that you may need to adjust the baking time slightly.
Conclusion
Making Easy Halloween Brookies is a fun and rewarding experience that’s perfect for the spooky season. With their customizable toppings and ease of preparation, these treats are sure to be a hit with both kids and adults. Whether you’re a seasoned baker or just starting out, this recipe is a great way to get into the Halloween spirit and create some unforgettable memories. So go ahead, get creative, and make these brookies your own. Happy baking, and Happy Halloween!