Introduction
Transform simple ingredients into a luxurious, melt-in-your-mouth dark chocolate experience! This recipe is perfect for sharing with loved ones – or keeping all to yourself 😉. It’s easier than you think to make rich, intensely flavorful dark chocolate at home, and the results are far superior to store-bought versions. Get ready to impress!
Why This Works
This recipe works because it focuses on high-quality ingredients and a slow, careful melting process. This allows the chocolate to develop a deep, complex flavor that’s both intensely chocolatey and subtly nuanced. It’s also incredibly versatile – perfect for gifting, baking, or simply enjoying straight from the spoon! 🥄
Key Ingredients
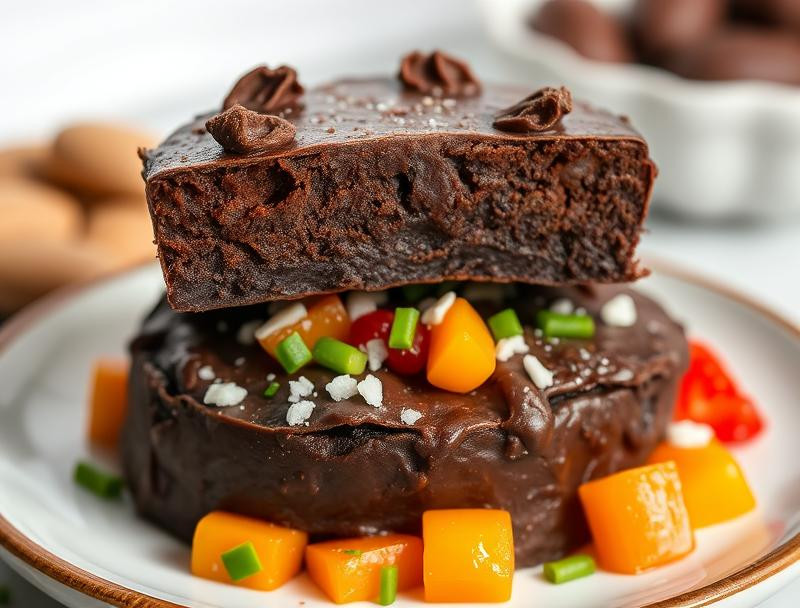
🍫 12 ounces bittersweet chocolate, finely chopped
🥛 1/2 cup heavy cream
🧈 2 tablespoons unsalted butter, cut into cubes
🍯 1 tablespoon honey (optional, for extra richness)
🧂 Pinch of sea salt
Instructions
1️⃣ Chop the chocolate: Finely chop the bittersweet chocolate. The smaller the pieces, the faster and more evenly it will melt.
2️⃣ Heat the cream: In a small saucepan over medium-low heat, gently warm the heavy cream. Don’t let it boil! You just want it to be warm to the touch.
3️⃣ Combine cream and chocolate: Pour the warm cream over the chopped chocolate in a heatproof bowl. Let it sit for a minute to soften the chocolate.
4️⃣ Melt gently: Gently stir the mixture until the chocolate is completely melted and smooth. Use a whisk or a spatula – avoid using a microwave, as it can scorch the chocolate.
5️⃣ Add butter and honey (optional): Stir in the butter and honey (if using) until completely incorporated. The butter adds richness and shine, while the honey provides a touch of sweetness.
6️⃣ Season with salt: Add a pinch of sea salt to balance the sweetness and enhance the chocolate flavor.
7️⃣ Pour and cool: Pour the melted chocolate into a prepared mold (silicone molds are easiest to work with). Let it cool completely at room temperature, or chill in the refrigerator for faster setting.
Handy Tips
- Use a double boiler for a foolproof melt.
- A thermometer helps ensure the cream doesn’t overheat.
- Don’t over-stir the chocolate once it’s melted; this can incorporate air and create a grainy texture.
Heat Control
Low and slow is the key here! Overheating the cream will cause it to scorch, impacting the flavor of your final chocolate. Medium-low heat prevents this. The goal is gentle warmth, not a vigorous boil.
Crunch Factor
This recipe creates a smooth, creamy, and intensely chocolatey texture. For added crunch, consider stirring in chopped nuts (almonds, hazelnuts), sea salt flakes, or even candied orange peel after the chocolate has melted but before pouring it into the molds.
Pro Kitchen Tricks
- For extra intense chocolate flavor, use high-quality, single-origin bittersweet chocolate.
- Add a teaspoon of vanilla extract for a warm, comforting aroma.
- Use different molds for unique shapes and sizes – get creative!
Storage Tips
Store your homemade dark chocolate in an airtight container at room temperature for up to 2 weeks. For longer storage, refrigerate.
Gift Packaging Ideas
- Package individual pieces in small cellophane bags tied with ribbons.
- Use decorative boxes and fill them with your homemade chocolate.
- Create a beautiful chocolate assortment with various shapes and additions.
Flavor Variations
🌟 Espresso Chocolate: Add 1 tablespoon of instant espresso powder to the melted chocolate.
🌟 Chili Chocolate: Add a pinch of cayenne pepper for a spicy kick.
🌟 Orange Chocolate: Stir in the zest of one orange for a citrusy twist.
🌟 Mint Chocolate: Add 1 teaspoon of peppermint extract for a refreshing flavor.
Troubleshooting
- Chocolate is grainy: This usually means the chocolate wasn’t melted smoothly. Try using a double boiler next time.
- Chocolate is too sweet: Reduce the amount of honey or use a less sweet chocolate.
- Chocolate is too bitter: Add a touch more honey or use a slightly less bitter chocolate variety.
FAQ
- Can I use milk chocolate? While possible, milk chocolate will create a significantly different (and less intense) chocolate.
- Can I use a microwave? While possible, it’s more likely to result in uneven melting or scorched chocolate. A stovetop method is preferred.
- How long does it take to set? At room temperature, it can take several hours. Refrigerating speeds up the process significantly.
Conclusion
Making homemade dark chocolate is a rewarding experience! Share your delicious creations with friends and family – they’ll be impressed by your culinary skills and the rich, intense flavor. Enjoy!
Kid-Friendly Dark Chocolate You Can Make at Home
A simple and delicious dark chocolate recipe that's perfect for kids. It's easy to make and can be customized with your favorite toppings!
Ingredients
- 1 cup cocoa powder
- 1/2 cup coconut oil
- 1/2 cup maple syrup
- 1 teaspoon vanilla extract
- 1/4 teaspoon salt
- Optional toppings: nuts, dried fruit, or sprinkles
Instructions
- In a medium saucepan, melt the coconut oil over low heat.
- Once melted, remove from heat and whisk in the cocoa powder, maple syrup, vanilla extract, and salt until smooth.
- Pour the chocolate mixture into a silicone mold or parchment-lined baking dish.
- Sprinkle your choice of toppings over the chocolate if desired.
- Refrigerate for about 1 hour or until solid.
- Once set, remove from the mold and break into pieces.
Tips
- Use high-quality cocoa powder for the best flavor.
- Experiment with different toppings to find your favorite combination.