Mini Ice Cream Cakes – No-Bake Dessert for Parties and Summer Birthdays
Introduction
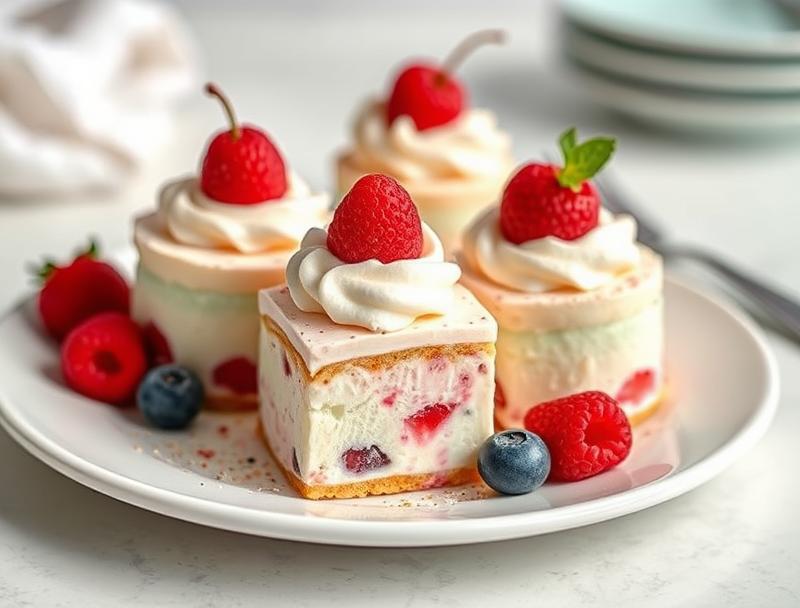
Imagine a dessert that’s as easy to make as it is impressive to serve – a treat that combines the creaminess of ice cream with the charm of a cake, all without needing to turn on your oven. Mini ice cream cakes are the perfect solution for summer birthdays, parties, and any occasion where you want to wow your guests with a cool, creamy, and utterly delicious dessert. Using everyday ingredients and requiring no baking, these mini masterpieces are a testament to the magic of no-bake desserts. In this article, we’ll dive into the world of mini ice cream cakes, exploring why they’re a game-changer for any host, the simple yet clever ingredients you’ll need, and the straightforward steps to create these icy gems.
Why This Works
- Flavor balance and ingredient accessibility: The beauty of mini ice cream cakes lies in their simplicity. By combining a few key ingredients like ice cream, cookies or wafers for the crust, and a variety of toppings, you achieve a perfect balance of flavors and textures that everyone will love. Plus, these ingredients are easily found in most supermarkets.
- Ease of preparation: One of the most appealing aspects of mini ice cream cakes is how easy they are to prepare. With no baking required, you save time and effort, making them perfect for last-minute gatherings or when you’re short on time.
- Impressive results with minimal effort: Despite their simplicity, mini ice cream cakes can be customized to look and taste incredibly sophisticated. Whether you’re adding fresh fruits, nuts, or drizzling them with chocolate, the presentation and flavor can be tailored to impress even the most discerning palates.
Ingredients
- 1 1/2 quarts of your favorite ice cream (we recommend unique flavors like matcha, strawberry, or cookie dough for added fun)
- 1 package of ice cream cones or small cookies/wafers for the crust
- 1 cup of heavy cream
- 1/2 cup of powdered sugar
- 1 teaspoon of vanilla extract
- Toppings of your choice (chopped nuts, sprinkles, chocolate chips, caramel sauce, etc.)
- Whipped cream for garnish
Instructions
- Step 1: Prepare the Crust – Begin by crushing your cookies or wafers in a food processor to create fine crumbs. Mix these crumbs with a little melted butter until they’re well combined and can hold their shape when pressed together. Press this mixture into the bottom of small cupcake liners or mini cake molds to form the base of your ice cream cakes.
- Step 2: Scoop the Ice Cream – Scoop your chosen ice cream into balls, about the size that will fit snugly into your prepared molds. Place one scoop into each mold on top of the crust.
- Step 3: Add Toppings and Finish – Now, it’s time to get creative! Add your chosen toppings to the ice cream. This could be a sprinkle of nuts, a drizzle of caramel, or even a small cookie on top. Once you’ve added your toppings, place the molds into the freezer to set.
- Step 4: Serve and Enjoy – Just before serving, remove the mini ice cream cakes from the freezer and garnish with whipped cream. You can also add additional toppings at this stage. Serve immediately and enjoy the delight on your guests’ faces as they indulge in these cool treats.
Handy Tips
- For a firmer ice cream cake, make sure to freeze the assembled cakes for at least 2 hours before serving.
- Experiment with different types of ice cream and toppings to create unique flavor combinations.
- Consider using edible images or writing to personalize the cakes for special occasions like birthdays or weddings.
Heat Control
Since these mini ice cream cakes are no-bake, the only heat control you’ll need to worry about is ensuring your freezer is at the right temperature to keep your cakes frozen solid until serving. Aim for a freezer temperature of 0°F (-18°C) for the best results.
Crunch Factor
The crunch factor in your mini ice cream cakes comes from the crust made of cookies or wafers and any crunchy toppings you choose to add, like nuts or cookies. To maintain this crunch, it’s essential to freeze the cakes until they’re solid and to add toppings just before serving to prevent them from getting soggy.
Pro Kitchen Tricks
- Use a variety of molds to create different shapes and sizes of ice cream cakes for a visually appealing presentation.
- For a professional finish, dip the tops of the ice cream cakes in melted chocolate and decorate with sprinkles or chopped nuts before the chocolate hardens.
- Keep your ice cream at room temperature for about 10-15 minutes before scooping to make it easier to shape into balls.
Storage Tips
- Store assembled mini ice cream cakes in an airtight container in the freezer to maintain their texture and prevent freezer burn.
- For longer storage, consider making the components (crust and ice cream balls) separately and assembling just before serving.
- When storing, make sure the cakes do not come into contact with each other to prevent them from sticking together.
Gift Packaging Ideas
If you’re planning to give these mini ice cream cakes as gifts, consider packaging them in decorative boxes or bags with ice packs to keep them frozen during transport. You can also add a personal touch with gift tags or cards. For a more rustic look, wrap each cake in parchment paper and tie with a ribbon.
Flavor Variations
- Different spices: Add a pinch of cinnamon, nutmeg, or cardamom to your ice cream for a unique twist.
- Creative toppings: Use fresh fruits, caramel sauce, hot fudge, or even candy pieces to top your cakes.
- Ingredient swaps: Replace traditional ice cream with gelato or sorbet for a lighter version, or use gluten-free cookies for the crust to cater to dietary restrictions.
Troubleshooting
- Texture problems: If your ice cream becomes too soft, refreeze it until it’s scoopable again. If it’s too hard, let it sit at room temperature for a few minutes to soften.
- Ingredient replacements: Don’t have a specific ingredient? Look for substitutes that offer similar textures or flavors, like using almond milk instead of heavy cream for a lighter whipped topping.
- Over/undercooking signs: Since these are no-bake, watch out for signs of melting or softening instead, adjusting your freezer time as needed.
FAQs
- Can I freeze it? Yes, these mini ice cream cakes are designed to be frozen. In fact, freezing is what helps them hold their shape and maintains their texture.
- Is it gluten-free? It can be, depending on the ingredients you choose for the crust. Opt for gluten-free cookies or wafers to make the dessert accessible to those with gluten intolerance.
- Can I double the recipe? Absolutely! Simply multiply all the ingredients by two (or more, depending on your needs) and proceed with the instructions. Keep in mind that you may need to adjust the freezing time slightly for larger batches.
Conclusion
Mini ice cream cakes are a versatile and fun dessert option that can elevate any gathering into a special occasion. With their ease of preparation, impressive presentation, and endless possibilities for customization, they’re sure to become a favorite among both kids and adults. Whether you’re celebrating a summer birthday, hosting a party, or just looking for a cool treat to beat the heat, these no-bake wonders are the perfect choice. So, don’t hesitate to get creative, experiment with different flavors, and enjoy the delight of serving something truly special to your loved ones.
Mini Ice Cream Cakes – No-Bake Dessert for Parties and Summer Birthdays
A no-bake dessert perfect for summer parties and birthdays, combining the creaminess of ice cream with the charm of a cake.
🥘 Ingredients
👩🍳 Instructions
-
1Prepare the crust by crushing cookies and mixing with melted butter.
-
2Scoop ice cream into balls and place on top of the crust in molds.
-
3Add toppings of your choice to the ice cream.
-
4Freeze until solid and serve with whipped cream if desired.