Irresistible Kiss Me Red Velvet Brownies
Introduction
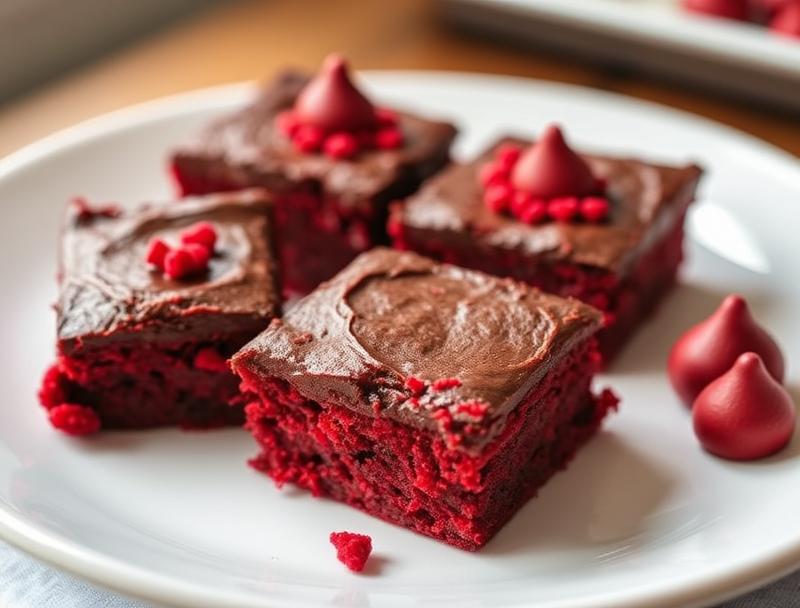
Imagine indulging in a rich, velvety, and decadently chocolatey treat that combines the deep flavors of cocoa with the vibrant allure of red velvet, all wrapped up in a perfectly baked brownie. The Irresistible Kiss Me Red Velvet Brownies are not just a dessert; they’re an experience. With everyday ingredients and straightforward instructions, these brownies are accessible to bakers of all levels. Whether you’re a seasoned pro or a novice in the kitchen, this recipe promises to deliver impressive results with minimal effort, making it perfect for special occasions or a simple evening treat.
Why This Works
- Flavor balance and ingredient accessibility: The combination of red velvet and chocolate creates a unique and appealing flavor profile that’s both familiar and exciting. The ingredients are easily found in most supermarkets, making this recipe convenient for anyone.
- Ease of preparation: The steps to prepare these brownies are straightforward and simple, requiring no special equipment or techniques beyond basic baking skills.
- Impressive results with minimal effort: Despite the simplicity of the recipe, the end result is a batch of brownies that are visually stunning and irresistibly delicious, perfect for impressing friends and family.
Ingredients
- 1 and 1/2 sticks of unsalted butter (12 tablespoons), plus more for greasing the pan
- 2 cups of sugar
- 4 large eggs
- 1/2 cup of unsweetened cocoa powder
- 1 teaspoon of red food coloring
- 1 and 1/4 cups of all-purpose flour
- 1 teaspoon of salt
- 1 cup of semi-sweet chocolate chips
- 1 teaspoon of vanilla extract
- 1 cup of chopped walnuts (optional)
Instructions
- Step 1: Preheat your oven to 350°F (180°C). Grease an 8-inch square baking pan with butter and line it with parchment paper, leaving some overhang for easy removal.
- Step 2: In a medium bowl, whisk together the flour and salt. Set aside.
- Step 3: In a large bowl, use an electric mixer to beat together the butter and sugar until light and fluffy, about 2 minutes. Beat in the eggs one at a time, followed by the cocoa powder and red food coloring until well combined.
- Step 4: Gradually mix in the flour mixture until just combined, being careful not to overmix. Stir in the chocolate chips and vanilla extract. If using walnuts, fold them into the batter at this stage.
- Step 5: Pour the batter into the prepared baking pan and smooth the top. Bake for 25-30 minutes or until a toothpick inserted into the center comes out with a few moist crumbs attached.
- Step 6: Remove the brownies from the oven and let them cool completely in the pan before cutting into squares and serving.
Handy Tips
- For a more intense chocolate flavor, use dark or bittersweet chocolate chips instead of semi-sweet.
- Don’t overmix the batter, as this can lead to dense brownies.
- If you prefer a chewier texture, bake the brownies for 23-25 minutes. For a firmer texture, bake for 30-32 minutes.
Heat Control
Maintaining the right oven temperature is crucial for baking perfect brownies. Ensure your oven is at 350°F (180°C) before baking. The baking time may vary depending on your oven’s performance and the desired texture of the brownies. Keep an eye on them after the 20-minute mark to avoid overcooking.
Crunch Factor
The addition of walnuts provides a delightful crunch to the brownies, contrasting beautifully with the soft, velvety chocolate. If you prefer a different texture, you can substitute walnuts with pecans or hazelnuts for a unique flavor profile.
Pro Kitchen Tricks
- For cleaner cuts, refrigerate the brownies for about 30 minutes before slicing. Use a sharp knife and wipe it clean between cuts.
- To enhance the flavor, let the brownies cool completely in the pan. This allows the flavors to meld together and intensify.
Storage Tips
- Store the brownies in an airtight container at room temperature for up to 3 days.
- For longer storage, wrap the brownies tightly in plastic wrap or aluminum foil and freeze for up to 2 months. Thaw at room temperature when ready to serve.
Gift Packaging Ideas
These brownies make a wonderful gift, especially when presented nicely. Consider wrapping individual brownies in decorative paper or placing them in a gift tin lined with parchment paper. Adding a ribbon or a handwritten note can make the gift even more special.
Flavor Variations
- Espresso Powder: Add a teaspoon of espresso powder to the batter for a mocha twist.
- Cream Cheese Frosting: Top the cooled brownies with a cream cheese frosting for a tangy contrast to the rich chocolate.
- Raspberry or Strawberry: Fold in some fresh raspberries or strawberries into the batter for a fruity and chocolatey combination.
Troubleshooting
- Texture problems: If the brownies are too dense, it might be due to overmixing. If they’re too dry, they might have been overbaked.
- Ingredient replacements: While it’s best to use the ingredients listed, you can make some substitutions. For example, using brown sugar instead of granulated sugar will give a slightly different flavor.
- Over/undercooking signs: A toothpick inserted into the center should come out with a few moist crumbs for perfectly cooked brownies. If it’s clean, they might be overcooked, and if it’s covered in batter, they’re undercooked.
FAQs
- Can I freeze it? Yes, you can freeze the brownies for up to 2 months. Wrap them tightly in plastic wrap or aluminum foil and thaw at room temperature when ready to serve.
- Is it gluten-free? The recipe includes all-purpose flour, making it not gluten-free. However, you can experiment with gluten-free flour mixes for a gluten-free version.
- Can I double the recipe? Yes, you can double the recipe. Just ensure you have a large enough baking pan, such as a 9×13 inch pan, and adjust the baking time accordingly, likely adding 10-15 minutes.
Conclusion
The Irresistible Kiss Me Red Velvet Brownies are a treat that will satisfy any sweet tooth and impress with their vibrant color and deep flavor. With these simple steps and handy tips, you’re well on your way to creating a dessert that’s sure to become a favorite. Feel free to experiment with the recipe, adding your own twists and flavors to make it truly unique. Whether you’re baking for a special occasion or just because, these brownies are sure to bring a smile to everyone’s face.
Irresistible Kiss Me Red Velvet Brownies
Rich, velvety, and decadently chocolatey red velvet brownies with a vibrant color and deep flavor, perfect for any occasion.
🥘 Ingredients
👩🍳 Instructions
-
1Preheat the oven to 350°F (180°C).
-
2Grease an 8-inch square baking pan with butter and line it with parchment paper.
-
3Whisk together the flour and salt in a medium bowl.
-
4Beat together the butter and sugar until light and fluffy, then beat in the eggs one at a time.
-
5Beat in the cocoa powder and red food coloring until well combined.
-
6Gradually mix in the flour mixture until just combined, then stir in the chocolate chips and vanilla extract.
-
7Pour the batter into the prepared baking pan and smooth the top.
-
8Bake for 25-30 minutes or until a toothpick inserted into the center comes out with a few moist crumbs attached.
-
9Let the brownies cool completely in the pan before cutting into squares and serving.