Classic Brooklyn Blackout Cake Recipe for Chocolate Lovers
Introduction
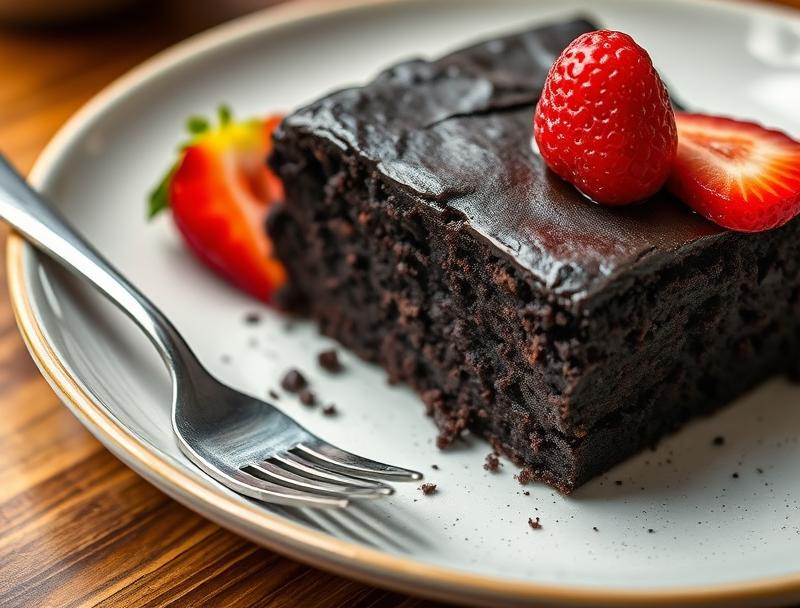
The Classic Brooklyn Blackout Cake is a legendary dessert that has captured the hearts and taste buds of chocolate lovers everywhere. This iconic cake, born in the heart of Brooklyn, is a masterclass in rich, velvety chocolate flavors, moist texture, and decadent presentation. What makes this cake truly special is its accessibility – using everyday ingredients, it’s surprisingly easy to create this masterpiece in the comfort of your own kitchen. Whether you’re a seasoned baker or a beginner looking to impress, the Classic Brooklyn Blackout Cake is a recipe that promises to deliver on both flavor and creativity, making it a perfect choice for any occasion.
Why This Works
- The balance of flavors in this cake is unparalleled, with deep, dark chocolate offset by subtle sweetness, creating a truly addictive taste experience.
- The preparation of this cake is remarkably straightforward, requiring minimal specialized equipment and techniques, making it accessible to bakers of all skill levels.
- Despite its simplicity, the Classic Brooklyn Blackout Cake yields impressively professional results, with its sleek, ebony exterior giving way to a sumptuously moist and fluffy interior, guaranteed to impress even the most discerning palates.
Ingredients
- 2 cups all-purpose flour
- 1 cup granulated sugar
- 6 ounces best-quality dark chocolate (at least 70% cocoa), broken into small pieces
- 1 teaspoon baking powder
- 1 teaspoon salt
- 1 cup whole milk, at room temperature
- 2 large eggs, at room temperature
- 1 teaspoon pure vanilla extract
- 1 cup heavy cream, for the chocolate pudding filling
- Confectioners’ sugar, for dusting
Instructions
- Step 1: Preheat your oven to 375°F (190°C). Prepare two 9-inch (23cm) round cake pans by greasing them and lining the bottoms with parchment paper.
- Step 2: In a medium bowl, whisk together flour, sugar, baking powder, and salt. Set aside. In a large mixing bowl, combine the broken chocolate and hot water, letting it sit for a minute before stirring until smooth. Allow the mixture to cool slightly.
- Step 3: Add the milk, eggs one at a time, and vanilla extract to the chocolate mixture, whisking until well combined. Gradually add the dry ingredients to the chocolate mixture, whisking until just combined.
- Step 4: Divide the batter evenly between the prepared pans and smooth the tops. Bake for approximately 35-40 minutes or until a toothpick inserted in the center comes out clean. Let the cakes cool in the pans for 10 minutes before transferring them to a wire rack to cool completely.
- Step 5: For the chocolate pudding filling, melt the chocolate in a double boiler or in the microwave in 30-second increments, stirring between each interval until smooth. Whip the heavy cream until it forms stiff peaks. Fold the whipped cream into the melted chocolate until no white streaks remain.
- Step 6: To assemble the cake, place one of the cooled cakes on a serving plate, spread the chocolate pudding over the top, and place the second cake on top. Dust with confectioners’ sugar before serving.
Handy Tips
- For an intense chocolate experience, use the highest quality dark chocolate you can find. The better the chocolate, the richer the flavor of your cake.
- Don’t overmix the batter, as this can result in a dense cake. Stop mixing as soon as the ingredients come together in a smooth, velvety batter.
- If you’re not using the cake immediately, it can be stored at room temperature for up to 3 days. For longer storage, freeze the cake layers separately, wrapped tightly in plastic wrap or aluminum foil.
Heat Control
When baking the cake layers, it’s crucial to maintain the correct oven temperature to ensure the cakes cook evenly and thoroughly. Monitor your oven’s temperature and adjust the baking time as needed. The cakes are done when they’re firm to the touch and a toothpick inserted into the center of each cake comes out clean.
Crunch Factor
The Classic Brooklyn Blackout Cake is known for its moist, tender crumb, which is achieved by not overbaking the cake layers. Keep an eye on the cakes while they’re baking, and remove them from the oven as soon as they’re done. This will help retain the moisture and give you the perfect texture.
Pro Kitchen Tricks
- To ensure your cake layers are perfectly flat, try spinning the pans halfway through the baking time. This helps the cakes cook evenly and prevents doming.
- For an extra-decadent treat, drizzle the top of the cake with melted chocolate or sprinkle with chocolate shavings before serving.
Storage Tips
- Leftover cake can be stored in an airtight container at room temperature for up to 3 days. For longer storage, wrap the cake tightly in plastic wrap or aluminum foil and freeze for up to 2 months.
- To reheat, let the cake thaw overnight in the refrigerator, then bring to room temperature before serving.
Gift Packaging Ideas
The Classic Brooklyn Blackout Cake makes a stunning gift, especially when beautifully packaged. Consider placing a slice or the entire cake in a decorative tin or box, wrapped in a ribbon or gift paper. For a more rustic look, use a wooden crate or a vintage suitcase to add a touch of nostalgia to your gift.
Flavor Variations
- Experiment with different types of chocolate, such as milk chocolate for a sweeter cake or white chocolate for a unique twist.
- Add-ins like nuts (walnuts or pecans work well), dried fruit, or even a teaspoon of espresso powder can enhance the flavor and texture of the cake.
- For a boozy twist, soak the cake layers in a liquor of your choice, such as Kahlúa or Grand Marnier, before assembling the cake.
Troubleshooting
- If your cake layers turn out too dense, it might be due to overmixing the batter. Try mixing the ingredients just until they come together for a lighter texture.
- If the cake doesn’t rise properly, check your leavening agents (baking powder) to ensure they’re fresh and not past their expiration date.
- For cakes that are too dry, try not overbaking them. Remove the cakes from the oven when they’re just done, and let them cool completely in the pans before transferring them to a wire rack.
FAQs
- Can I freeze the cake? Yes, the cake can be frozen for up to 2 months. Wrap the cake tightly in plastic wrap or aluminum foil and thaw overnight in the refrigerator when you’re ready to serve.
- Is this cake gluten-free? No, this recipe includes all-purpose flour, which contains gluten. However, you can experiment with gluten-free flours to create a gluten-free version.
- Can I double the recipe? Yes, you can double the recipe to make a larger cake. Just keep in mind that you’ll need to adjust the baking time accordingly.
Conclusion
The Classic Brooklyn Blackout Cake is a timeless dessert that never fails to impress. With its deep, dark chocolate flavor and sumptuously moist texture, it’s a treat that chocolate lovers of all ages will adore. Whether you’re a seasoned baker or just starting out, this recipe is sure to become a favorite. So go ahead, indulge in a slice (or two), and savor the rich, velvety goodness of this iconic cake. Happy baking!
Classic Brooklyn Blackout Cake Recipe for Chocolate Lovers
A moist and decadent cake filled with dark chocolate, perfect for chocolate lovers.
🥘 Ingredients
👩🍳 Instructions
-
1Preheat oven to 375°F (190°C).
-
2Prepare two 9-inch round cake pans.
-
3Combine dry ingredients in a medium bowl.
-
4Melt chocolate and combine with milk, eggs, and vanilla extract.
-
5Combine wet and dry ingredients and divide batter between prepared pans.
-
6Bake for 35-40 minutes or until a toothpick comes out clean.
-
7Let cakes cool and prepare chocolate pudding filling.
-
8Assemble cake by spreading pudding over one cake layer and topping with the second layer.