No-Churn Strawberry Ice Cream
Introduction
Imagine a warm summer day, and the only thing that can satisfy your cravings is a scoop (or two) of creamy, sweet strawberry ice cream. The good news is, you don’t have to be an expert ice cream maker or invest in any special equipment to enjoy this treat. Our no-churn strawberry ice cream recipe is here to save the day, using everyday ingredients that are easily accessible and requiring minimal effort. This recipe is perfect for anyone looking to indulge in a delicious dessert without the hassle of traditional ice cream making methods. The combination of fresh strawberries, creamy texture, and the simplicity of preparation makes this no-churn ice cream a must-try for any ice cream lover.
Why This Works
- Flavor balance and ingredient accessibility: The beauty of this recipe lies in its simplicity and the use of readily available ingredients. Fresh strawberries provide natural sweetness and flavor, while the cream and condensed milk ensure a rich and creamy texture.
- Ease of preparation: Unlike traditional ice cream recipes that require an ice cream maker and a lot of preparation time, this no-churn version is incredibly easy. It involves mixing the ingredients together and freezing them, making it perfect for a quick dessert solution.
- Impressive results with minimal effort: The end result is a creamy, flavorful ice cream that tastes like it was made in a professional ice cream shop, but with much less effort. This makes it perfect for serving at gatherings or as a special treat for the family.
Ingredients
- 2 cups heavy cream
- 1 can (14 oz) sweetened condensed milk
- 1/2 cup granulated sugar
- 1/4 cup unsalted butter, softened
- 2 teaspoons vanilla extract
- 2 cups hulled and sliced strawberries
- Optional: additional sliced strawberries for garnish
Instructions
- Step 1: In a large mixing bowl, whip the heavy cream until it forms stiff peaks. This should take about 2-3 minutes with an electric mixer. Set the whipped cream aside.
- Step 2: In another large bowl, combine the sweetened condensed milk, granulated sugar, and softened butter. Mix until well combined and smooth. Add the vanilla extract and mix again.
- Step 3: Fold the whipped cream into the sweetened condensed milk mixture until no white streaks remain. Be gentle to avoid deflating the whipped cream.
- Step 4: Gently fold in the sliced strawberries. If you want a stronger strawberry flavor, you can puree some of the strawberries and mix them into the ice cream base before folding in the whipped cream.
- Step 5: Pour the mixture into a 9×13 inch baking dish or a metal loaf pan. Cover with plastic wrap or aluminum foil and place in the freezer.
- Step 6: Every 30 minutes, remove the ice cream from the freezer and use a fork to scrape the mixture and break up any ice crystals that have formed. This is called “tempering” and will help the ice cream to be smooth and creamy. Repeat this process for 2-3 hours, or until the ice cream has reached the desired consistency.
Handy Tips
- For a more intense strawberry flavor, use 3 cups of strawberries or add a few drops of strawberry extract to the mixture.
- If you find that your ice cream is too soft, it may not have been tempered enough. Try tempering it a few more times until it reaches the desired consistency.
- Experiment with different flavors by adding different extracts (like almond or coconut) or mixing in different types of fruit (like blueberries or raspberries).
Heat Control
This recipe does not require any heat, as it is a no-churn ice cream recipe that relies on freezing for texture. However, if you choose to puree some of the strawberries to mix into the ice cream base, be careful not to heat the mixture too much, as this can cause the cream to curdle or the mixture to become too runny.
Crunch Factor
This ice cream will have a smooth and creamy texture. If you prefer a bit of crunch, you can mix in some chopped nuts (like almonds or pecans), chocolate chips, or even crushed cookies (like wafers or peanut butter cookies) into the ice cream base before freezing.
Pro Kitchen Tricks
- Use high-quality ingredients: Fresh strawberries and real vanilla extract will give your ice cream the best flavor.
- Don’t overmix: Folding the whipped cream into the sweetened condensed milk mixture should be done gently to avoid deflating the whipped cream and ending up with a dense ice cream.
- Experiment with flavors: This basic recipe can be a starting point for countless flavor variations. Try adding different extracts, nuts, or fruits to create unique and delicious ice cream flavors.
Storage Tips
- Store the ice cream in an airtight container in the freezer to prevent ice crystals from forming and to keep the ice cream fresh.
- If you won’t be serving the ice cream immediately, consider portioning it out into individual serving cups or containers and freezing them. This will make it easier to serve and prevent the ice cream from becoming too hard or icy.
- The ice cream will keep in the freezer for up to 3 days. After this, the texture and flavor may start to degrade.
Gift Packaging Ideas
If you want to give this ice cream as a gift, consider packaging it in decorative jars or containers and topping it with fresh strawberries or whipped cream. You could also include a few cookies or wafers on the side for a fun ice cream sandwich treat. Wrap the container in a colorful towel or place it in a gift basket filled with other sweet treats for a thoughtful and delicious gift.
Flavor Variations
- Different spices: Try adding a pinch of cinnamon, nutmeg, or cardamom to the ice cream base for a unique twist on the classic strawberry flavor.
- Creative toppings: In addition to fresh strawberries, consider topping your ice cream with chopped nuts, chocolate chips, caramel sauce, or even crushed candy pieces.
- Ingredient swaps: Swap out the strawberries for a different type of fruit, like blueberries, raspberries, or mango, for a completely different flavor profile.
Troubleshooting
- Texture problems: If your ice cream is too icy, it may not have been tempered enough. Try tempering it a few more times until it reaches the desired consistency. If it’s too soft, it may have been over-tempered or not frozen long enough.
- Ingredient replacements: If you don’t have heavy cream, you can substitute it with half-and-half or a mixture of milk and butter. Keep in mind that this may affect the texture and flavor of the ice cream.
- Over/undercooking signs: Since this recipe doesn’t involve cooking, you don’t have to worry about over or undercooking. However, be careful not to overmix the ingredients, as this can result in a dense or icy texture.
FAQs
- Can I freeze it? Yes, this ice cream is designed to be frozen. In fact, it needs to be frozen in order to set and achieve the right texture.
- Is it gluten-free? Yes, this recipe is gluten-free, making it a great option for those with gluten intolerance or sensitivity.
- Can I double the recipe? Yes, you can easily double or even triple this recipe if you need to make a larger batch of ice cream. Just be sure to use a large enough container to hold the mixture and adjust the tempering time as needed.
Conclusion
Making no-churn strawberry ice cream is a fun and rewarding process that yields delicious results with minimal effort. Whether you’re a seasoned cook or a beginner in the kitchen, this recipe is sure to please. So go ahead, give it a try, and enjoy the creamy, sweet goodness of homemade strawberry ice cream without the hassle of traditional ice cream making methods. Don’t be afraid to experiment with different flavors and toppings to make the recipe your own, and don’t hesitate to share your creations with friends and family. Happy cooking!
No-Churn Strawberry Ice Cream
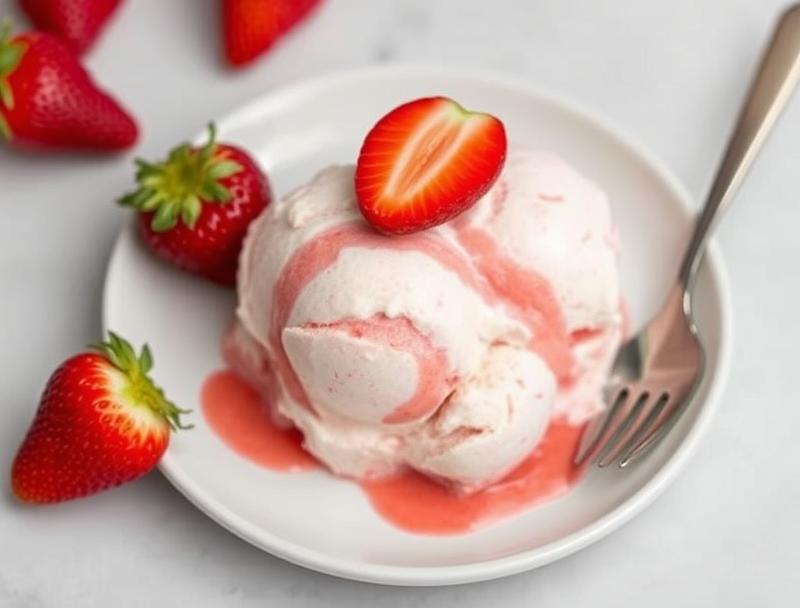
A simple and delicious no-churn strawberry ice cream recipe made with fresh strawberries, heavy cream, and sweetened condensed milk.
🥘 Ingredients
👩🍳 Instructions
-
1Whip the heavy cream until it forms stiff peaks.
-
2Combine the sweetened condensed milk, granulated sugar, and softened butter in a separate bowl.
-
3Fold the whipped cream into the sweetened condensed milk mixture until no white streaks remain.
-
4Gently fold in the sliced strawberries.
-
5Pour the mixture into a 9x13 inch baking dish or a metal loaf pan and freeze for 2-3 hours, tempering every 30 minutes until the desired consistency is reached.