Tangy Vegan Kimchi Recipe
Introduction
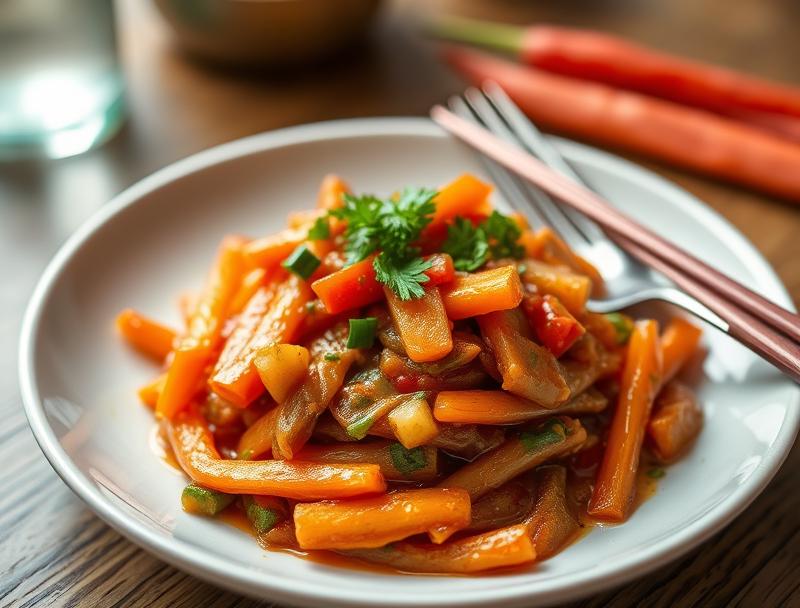
Welcome to the world of vibrant, spicy, and tangy flavors with our easy-to-make vegan kimchi recipe. This traditional Korean side dish is not only a staple in Korean cuisine but has also gained popularity worldwide for its bold flavors and numerous health benefits. Our recipe uses everyday ingredients, making it accessible to everyone, and it’s incredibly easy to prepare, requiring minimal effort for such an impressive and delicious outcome. Whether you’re a seasoned foodie or just starting to explore the world of vegan cuisine, this tangy vegan kimchi recipe is sure to delight your taste buds and leave you wanting more.
Why This Works
- Flavor balance and ingredient accessibility: Our recipe strikes a perfect balance between spicy, sour, and umami flavors, using ingredients that are easily found in most supermarkets.
- Ease of preparation: With a simple and straightforward process, you can have your kimchi ready in no time, perfect for a quick snack or as a side dish for your meals.
- Impressive results with minimal effort: The layering of flavors and textures in this recipe ensures that every bite is packed with excitement, making it a great dish to serve at gatherings or share with friends and family.
Ingredients
- 2 lbs napa cabbage, cut into 2-inch pieces
- 2 tablespoons coarse salt
- 1/4 cup Korean chili flakes (gochugaru)
- 2 cloves garlic, minced
- 1/4 cup fish-free kimchi paste (or vegan alternative)
- 1/4 cup rice vinegar
- 1/4 cup water
- 1 tablespoon grated fresh ginger
- 1 scallion, thinly sliced
- 1/4 cup toasted sesame seeds (optional)
- Fresh cilantro or scallions, chopped (for garnish)
Instructions
- Step 1: Salting the Cabbage – Begin by salting the cabbage. In a large bowl, mix the coarse salt and water together to create a brine. Stir until the salt is dissolved, then add the cabbage. Let it sit at room temperature for about 2-3 hours. The cabbage should be submerged in the brine, so you may need to weight it down with a plate or a heavy object.
- Step 2: Preparing the Kimchi Paste – After the cabbage has sat for a few hours, rinse it in cold water to remove the brine. In a blender or food processor, combine the chili flakes, garlic, kimchi paste, rice vinegar, water, and ginger. Blend until you get a smooth, spicy paste.
- Step 3: Assembling the Kimchi – In a large bowl, combine the blended kimchi paste, cabbage, and scallions. Mix everything together until the cabbage is evenly coated with the spicy paste.
- Step 4: Final Touches – Transfer the kimchi to a jar or container with a tight-fitting lid, pressing down on the cabbage to remove any air pockets. Leave about 1 inch of space at the top. If desired, sprinkle toasted sesame seeds on top. Cover the jar and let it ferment at room temperature for 1-5 days, or until it reaches your desired level of fermentation and sourness. Once fermented, store it in the refrigerator to slow down the fermentation process.
Handy Tips
- For a milder kimchi, reduce the amount of chili flakes or omit the seeds, which contain most of the heat.
- Always use gloves when handling chili peppers or chili flakes to avoid irritating your skin and eyes.
- Experiment with different ingredients like carrots, cucumbers, or radishes to create various kimchi flavors and textures.
Heat Control
The fermentation process of kimchi is what gives it that tangy, slightly sour taste. The ideal temperature for fermentation is between 64°F to 75°F (18°C to 24°C). Check the kimchi daily, tasting it to determine when it has reached your desired level of sourness. Once it’s fermented to your liking, store it in the refrigerator to slow down the fermentation process.
Crunch Factor
The crunch in kimchi comes from the fresh vegetables used, especially the cabbage and scallions. To maintain this crunch, it’s essential not to over-pack the kimchi in the jar, allowing for some space for the vegetables to ferment without becoming too soft. Also, storing it in the refrigerator after fermentation will help keep the kimchi crunchy.
Pro Kitchen Tricks
- Use a mandoline to slice the scallions and any other vegetables thinly and uniformly, which helps in achieving a better texture in the kimchi.
- For a more vibrant kimchi, add a few drops of beet juice to give it a pop of color.
- Keep the kimchi jar away from direct sunlight, as it can inhibit the fermentation process.
Storage Tips
- Store the kimchi in the refrigerator after it has fermented to your liking. This will slow down the fermentation process and keep the kimchi fresh for several weeks.
- Always use a clean utensil when scooping out kimchi from the jar to prevent contamination and spoilage.
- Kimchi can be frozen, but it’s best to freeze it before the fermentation process starts. Once frozen, it will last for several months. However, freezing will affect the texture, making it softer.
Gift Packaging Ideas
Kimchi makes a unique and thoughtful gift, especially for foodies. Consider packaging it in decorative jars with a ribbon and a gift tag that includes the recipe and storage instructions. You can also pair it with other Korean staples like gochujang or sesame oil for a more comprehensive gift basket.
Flavor Variations
- Different spices: Try adding a pinch of cumin or coriander for a Middle Eastern twist, or some smoked paprika for a smoky flavor.
- Creative toppings: Add some toasted nuts, dried cranberries, or pickled ginger on top of the kimchi for added texture and flavor.
- Ingredient swaps: Use different types of cabbage, like red cabbage for a beautiful color, or swap the fish-free kimchi paste with a homemade version made from miso and gochujang.
Troubleshooting
- Texture problems: If the kimchi becomes too soft, it may be over-fermented. Try storing it in the refrigerator sooner or using less salt in the brine.
- Ingredient replacements: If you can’t find Korean chili flakes, you can substitute them with a mixture of cayenne pepper and smoked paprika, though the flavor will be slightly different.
- Over/undercooking signs: Kimchi is not cooked in the traditional sense but fermented. Over-fermentation can make it too sour, while under-fermentation may not develop the full flavor potential.
FAQs
- Can I freeze it? Yes, kimchi can be frozen, but it’s best to do so before the fermentation process starts. Freezing will affect the texture, making it softer.
- Is it gluten-free? Yes, this vegan kimchi recipe is gluten-free, making it suitable for individuals with gluten intolerance or sensitivity.
- Can I double the recipe? Yes, you can easily double or triple this recipe. Just ensure you have a large enough container for the fermentation process.
Conclusion
Making vegan kimchi is a fun and rewarding process that allows you to explore the depths of Korean cuisine while adhering to a plant-based diet. With its bold flavors, numerous health benefits, and the joy of watching it ferment, this tangy vegan kimchi recipe is sure to become a staple in your kitchen. Don’t hesitate to experiment with different ingredients and flavors to make it your own, and enjoy sharing this delicious and unique side dish with friends and family. Happy fermenting!