Chocolate Lava Cookies – Easy Back-to-School Treat Kids Will Love!
Introduction
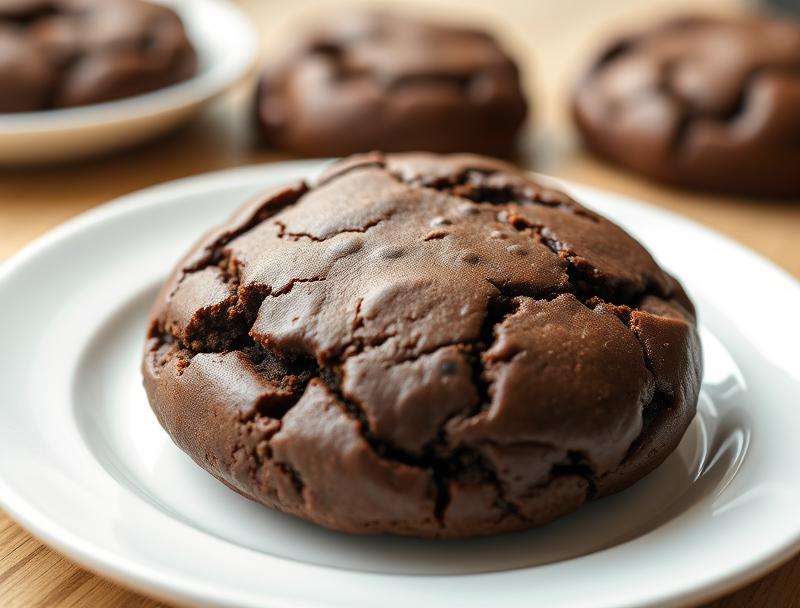
As the back-to-school season kicks in, parents are always on the lookout for easy, delicious, and fun treats that their kids will love. Among the plethora of sweet treats, chocolate lava cookies stand out for their gooey, chocolatey centers and crispy edges, making them an instant favorite among both kids and adults. What’s more, these treats are incredibly easy to make, requiring minimal ingredients and effort. In this article, we’ll dive into the world of chocolate lava cookies, exploring why they’re a hit, the simple ingredients you’ll need, and a step-by-step guide to making them. Whether you’re a seasoned baker or a beginner in the kitchen, this recipe is sure to become a staple in your household.
Why This Works
- Flavor balance and ingredient accessibility: The combination of melted chocolate, sugar, and butter creates a perfect balance of flavors that is hard to resist. Moreover, the ingredients required are easily accessible in most supermarkets, making it convenient to whip up a batch at any time.
- Ease of preparation: One of the standout features of chocolate lava cookies is how easy they are to prepare. With a simple mixture of wet and dry ingredients and a short baking time, you can have a batch of warm, gooey cookies ready in under 30 minutes.
- Impressive results with minimal effort: Despite the simplicity of the recipe, the end result is nothing short of impressive. The cookies’ molten centers and golden-brown edges are sure to wow both kids and adults, making them perfect for school bake sales, parties, or as an after-school snack.
Ingredients
- 2 1/4 cups all-purpose flour
- 1 tsp baking soda
- 1 tsp salt
- 1 cup unsalted butter, at room temperature
- 3/4 cup white granulated sugar
- 3/4 cup brown sugar
- 2 large eggs
- 2 teaspoons pure vanilla extract
- 2 cups semi-sweet chocolate chips
Instructions
- Step 1: Preheat your oven to 425°F (220°C). Line a baking sheet with parchment paper or a silicone mat.
- Step 2: Whisk together the flour, baking soda, and salt in a medium bowl. Set aside.
- Step 3: In a large bowl, use an electric mixer to cream together the butter and sugars until light and fluffy, about 2-3 minutes. Beat in the eggs one at a time, followed by the vanilla extract.
- Step 4: Gradually mix in the dry ingredients (flour mixture) until just combined, being careful not to overmix. Stir in the chocolate chips.
- Step 5: Use a cookie scoop or tablespoon to drop rounded balls of dough onto the prepared baking sheet, spacing them about 2 inches apart.
- Step 6: Bake for 12-14 minutes or until the edges are lightly golden brown and the centers are set.
- Step 7: Remove from the oven and let cool on the baking sheet for 5 minutes before transferring to a wire rack to cool completely.
Handy Tips
- For an extra gooey center, bake the cookies for 10-11 minutes. They might look slightly underbaked, but they will continue to cook a bit as they cool.
- Use high-quality chocolate chips for the best flavor.
- Don’t overbake. The cookies should be soft and slightly puffed when removed from the oven.
Heat Control
The ideal temperature for baking chocolate lava cookies is 425°F (220°C). This high temperature helps create the crispy edges and gooey centers that these cookies are known for. Timing is also crucial; bake for 12-14 minutes for a perfectly cooked cookie. Signs of doneness include lightly golden brown edges and a set center that might still be slightly soft to the touch.
Crunch Factor
The perfect chocolate lava cookie should have a delightful crunch on the outside and a soft, gooey interior. To achieve this texture, it’s essential not to overmix the dough and to bake the cookies at the right temperature for the right amount of time. The crunch comes from the baked edges, while the inside remains molten due to the chocolate chips and the short baking time.
Pro Kitchen Tricks
- Chill the dough: If you find that your cookies are spreading too much, try chilling the dough for 30 minutes before baking. This will help them retain their shape and bake up with a better texture.
- Use a combination of dark and milk chocolate chips for a deeper flavor profile.
- Don’t overcrowd the baking sheet. Bake in batches if necessary, to ensure the cookies have enough room to spread out a bit.
Storage Tips
- Store cooled cookies in an airtight container at room temperature for up to 3 days.
- For longer storage, cookies can be frozen for up to 2 months. Simply place them in a single layer in a freezer-safe bag or container and thaw at room temperature when you’re ready to serve.
- Reheat cookies in the microwave for 10-15 seconds to revive their gooey centers.
Gift Packaging Ideas
Chocolate lava cookies make wonderful gifts, especially for classmates, teachers, or as a sweet treat for friends and family. Consider packaging them in decorative jars, gift tins, or even cellophane bags tied with a ribbon. You can also add a personal touch by including a handwritten note or a small bag of gourmet coffee to complement the cookies.
Flavor Variations
- Try adding a teaspoon of sea salt to balance the sweetness and enhance the flavors.
- Experiment with different types of chocolate chips, such as white chocolate, peanut butter chips, or caramel bits, for unique flavor combinations.
- For a nutty twist, add some chopped walnuts or pecans to the dough before baking.
Troubleshooting
- Texture problems: If your cookies turn out too hard, they might have been overbaked. Try reducing the baking time. If they’re too soft, they might not have been baked long enough.
- Ingredient replacements: While the recipe is quite forgiving, replacing butter with margarine can affect the flavor and texture. Similarly, using different types of sugar can alter the sweetness level and texture of the cookies.
- Over/undercooking signs: Overcooked cookies will be hard and possibly dark brown. Undercooked cookies will be pale and soft, possibly with a raw dough taste.
FAQs
- Can I freeze the dough? Yes, you can freeze the cookie dough for up to 2 months. Simply scoop the dough into balls, place them on a baking sheet lined with parchment paper, and put the sheet in the freezer until the dough balls are frozen solid. Then, transfer them to a freezer-safe bag or container for storage. Bake frozen dough balls for an additional 1-2 minutes.
- Is this recipe gluten-free? No, this recipe contains all-purpose flour and is not gluten-free. However, you can experiment with gluten-free flours, though the texture and flavor might vary.
- Can I double the recipe? Yes, you can easily double or even triple this recipe if you’re making cookies for a large group. Just be sure to use a large enough mixing bowl and baking sheets to accommodate the increased dough and cookie size.
Conclusion
Chocolate lava cookies are a treat that never goes out of style, and with this easy recipe, you can have a batch ready in no time. Whether you’re a parent looking for a special after-school snack, a teacher seeking a classroom treat, or simply a chocolate lover, these cookies are sure to hit the spot. Feel free to experiment with the recipe, try out different flavor combinations, and most importantly, enjoy the process of baking and sharing these delicious treats with others. Happy baking!
Chocolate Lava Cookies – Easy Back-to-School Treat Kids Will Love!
A simple and delicious recipe for chocolate lava cookies perfect for back-to-school season, with gooey centers and crispy edges.
🥘 Ingredients
👩🍳 Instructions
-
1Preheat oven to 425°F (220°C).
-
2Whisk together flour, baking soda, and salt in a medium bowl.
-
3Cream together butter and sugars until light and fluffy.
-
4Beat in eggs one at a time, followed by vanilla extract.
-
5Gradually mix in dry ingredients until just combined, then stir in chocolate chips.
-
6Drop rounded balls of dough onto a prepared baking sheet, spacing them 2 inches apart.
-
7Bake for 12-14 minutes or until edges are lightly golden brown and centers are set.